Textured art has been catching my eye lately. It’s simple yet has a striking visual appeal. Inspired by this, I decided to repurpose old sheets and combine them with plaster to create a unique piece of textured textile wall art. The process turned out to be easier than I expected, and I’d definitely recommend giving it a try. In this article, I’ll guide you through each step.
Prefer watching instead of reading? Check out my YouTube video, where I share the entire process of making textured textile wall art on canvas.
You Will Need
These are affiliate links. If you purchase through these links, I may earn a small commission at no extra cost to you. Thank you for supporting my DIY journey!
- Plaster of Paris (modelling gypsum): https://amzn.to/3Votx9b
- Canvas: https://amzn.to/40x01RH
- Textile: https://amzn.to/3C1J1cP (or just use old sheets)
- Brush: https://amzn.to/3BrAwY1
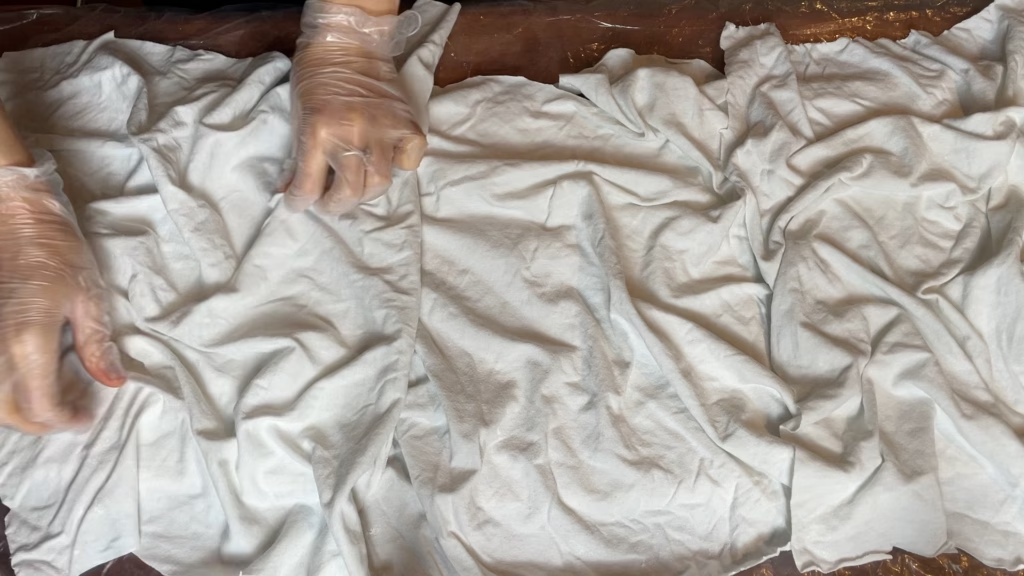
Step 1: Measure and Cut the Textile
I decided to create a set of three canvases that complement each other and look cohesive when displayed together. To determine how much fabric I needed, I draped a dry textile over each canvas, adjusting it to estimate the right amount. The fabric should be large enough to fully cover the canvas while allowing you to create interesting shapes, drapes, pleats, and textures. However, avoid using too much fabric, as excess material can be difficult to tuck neatly under the canvas frame.
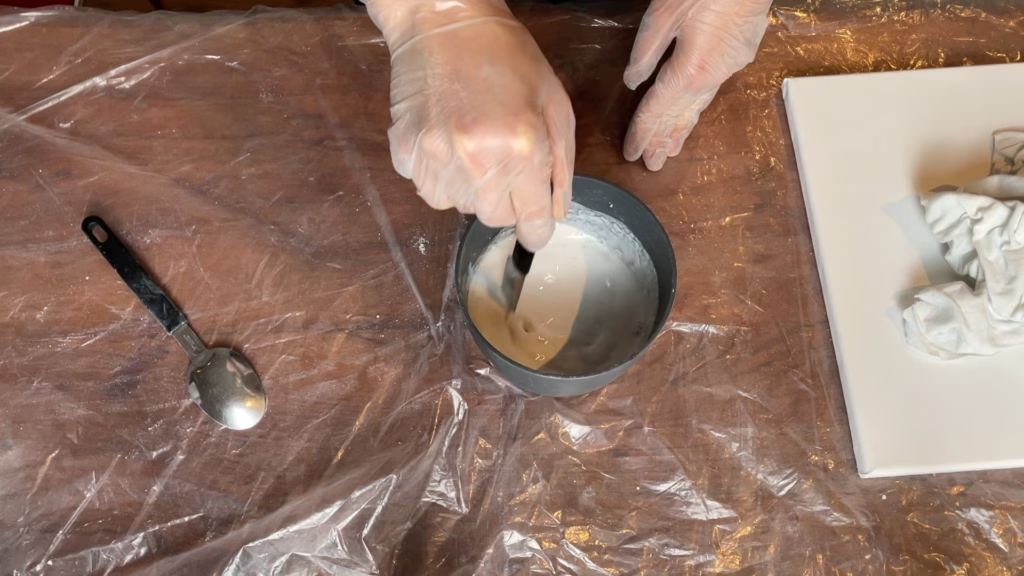
Step 2: Prepare the Plaster Mixture
To make the plaster mixture, combine Plaster of Paris (modeling gypsum) and water in a 1:1 ratio. An easy way to measure is by using two identical plastic cups—fill one with water and the other with plaster to the same level. Then, pour both into a larger cup or bucket and stir thoroughly until the mixture is smooth and free of lumps.
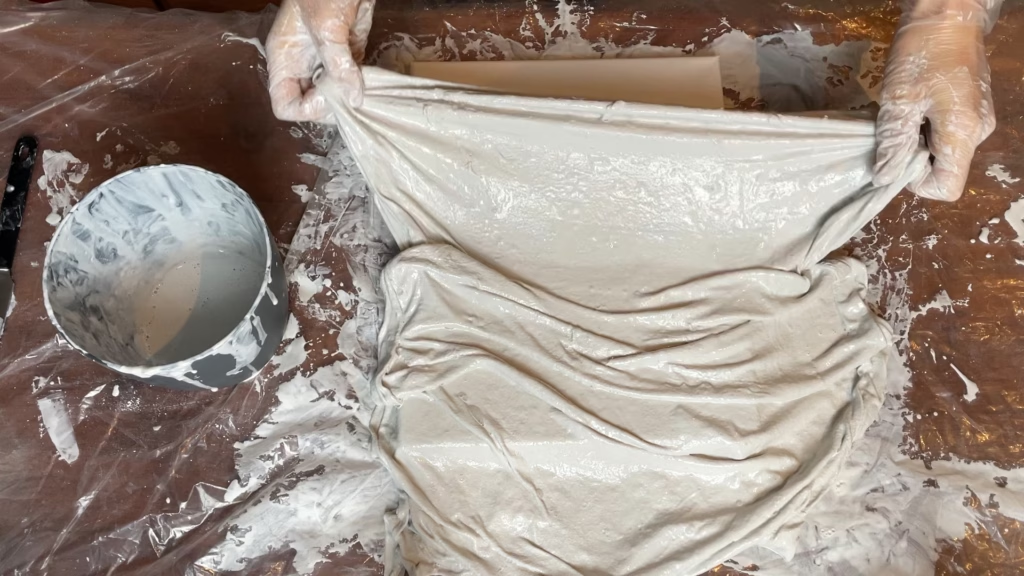
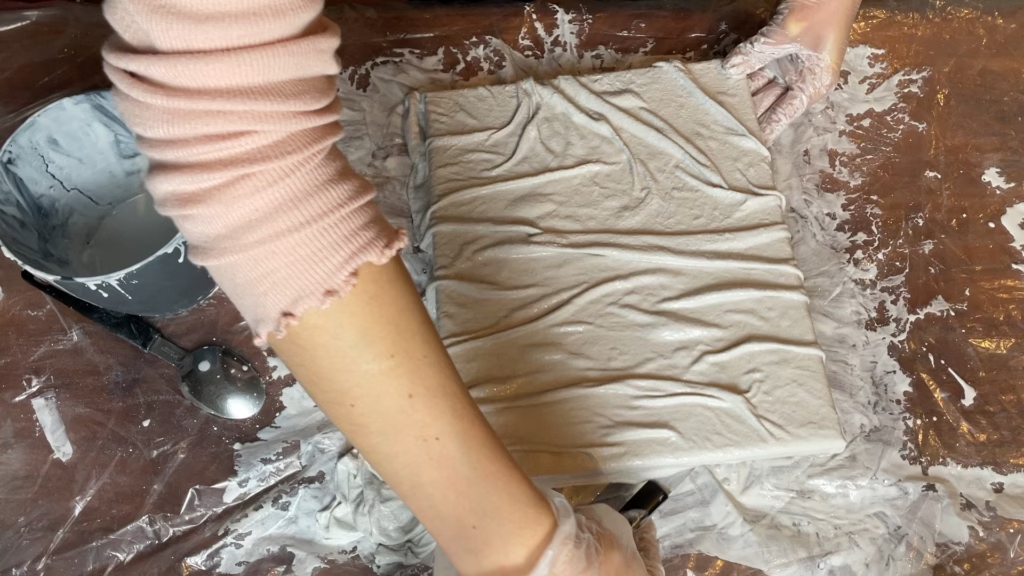
Step 3: Dip and Arrange the Textile
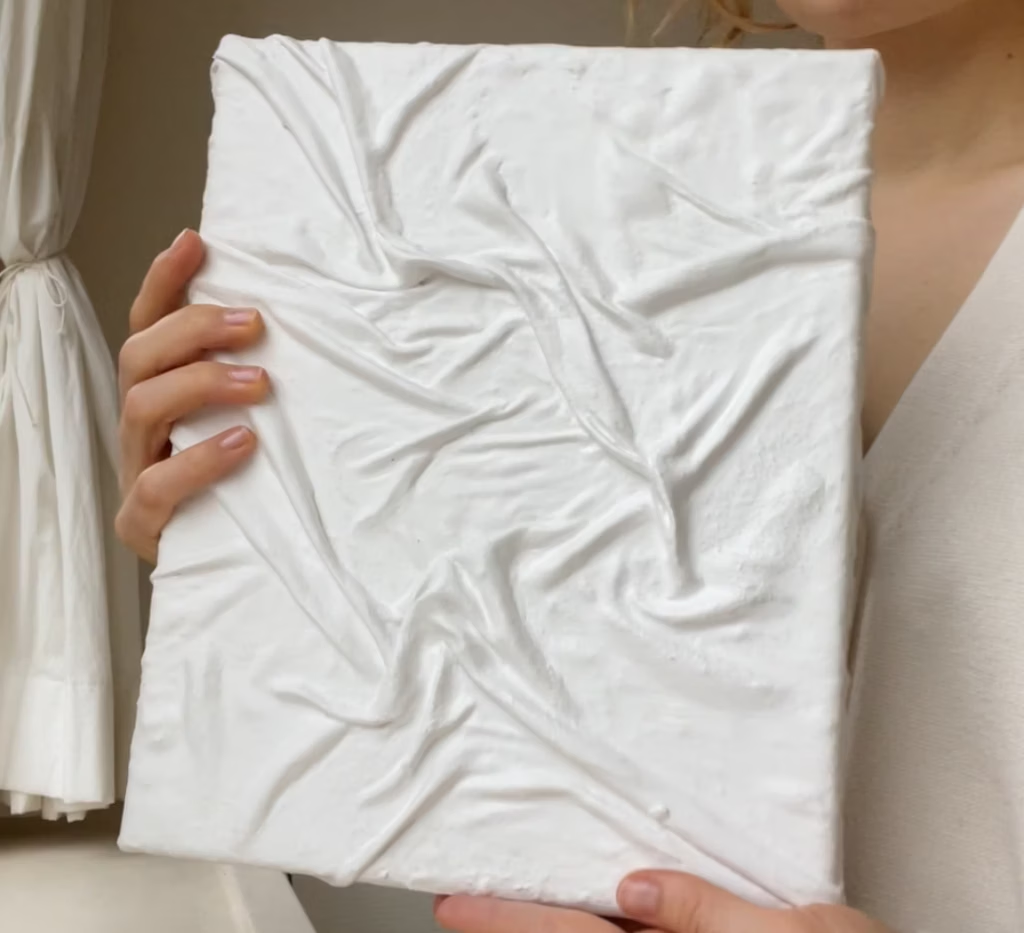
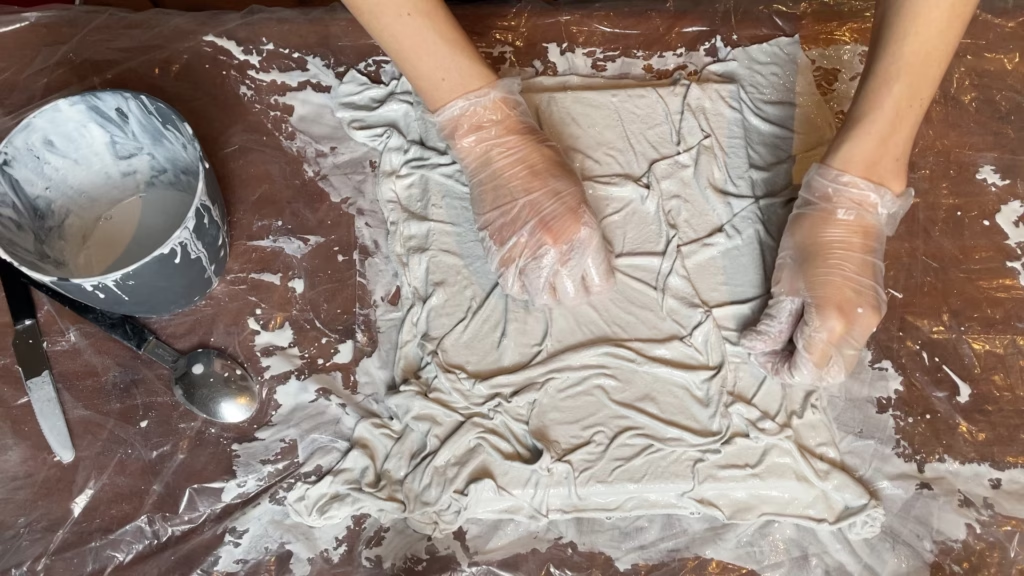
As soon as the plaster mixture is ready, fully submerge the fabric in it, ensuring it’s completely soaked. Then, quickly transfer it onto the canvas. Now comes the creative part—shaping the texture. Let your imagination guide you as you arrange the fabric, experimenting with different folds, drapes, and patterns. You can create a dense, textured look or go for a softer, more subtle design—it’s entirely up to you.
Once you’re happy with the texture, carefully tuck any excess fabric underneath the canvas frame. I found that using a butter knife made this step much easier.
Keep in mind that time is limited in this step. The plaster will start to harden after about five minutes, making the fabric less flexible and harder to shape. I mixed a fresh batch of plaster for each of the three canvases.

Step 4: Smooth the Surface (Optional)
Once the artwork is completely dry, you can choose to smooth out the surface for a more polished look. However, if you’re already happy with the texture, feel free to skip this step.
To achieve a smoother finish, I prepared a thin mixture of plaster and water. I didn’t use exact measurements—just added a small amount of plaster to water in a plastic cup, creating a diluted “plaster water” that remained liquid and didn’t harden. I also set aside a bucket of clean water for the process.
Using a brush, I applied the plaster water to the artwork, then smoothed it out with water. This technique helped create an even, refined surface. Once finished, let the piece dry completely.

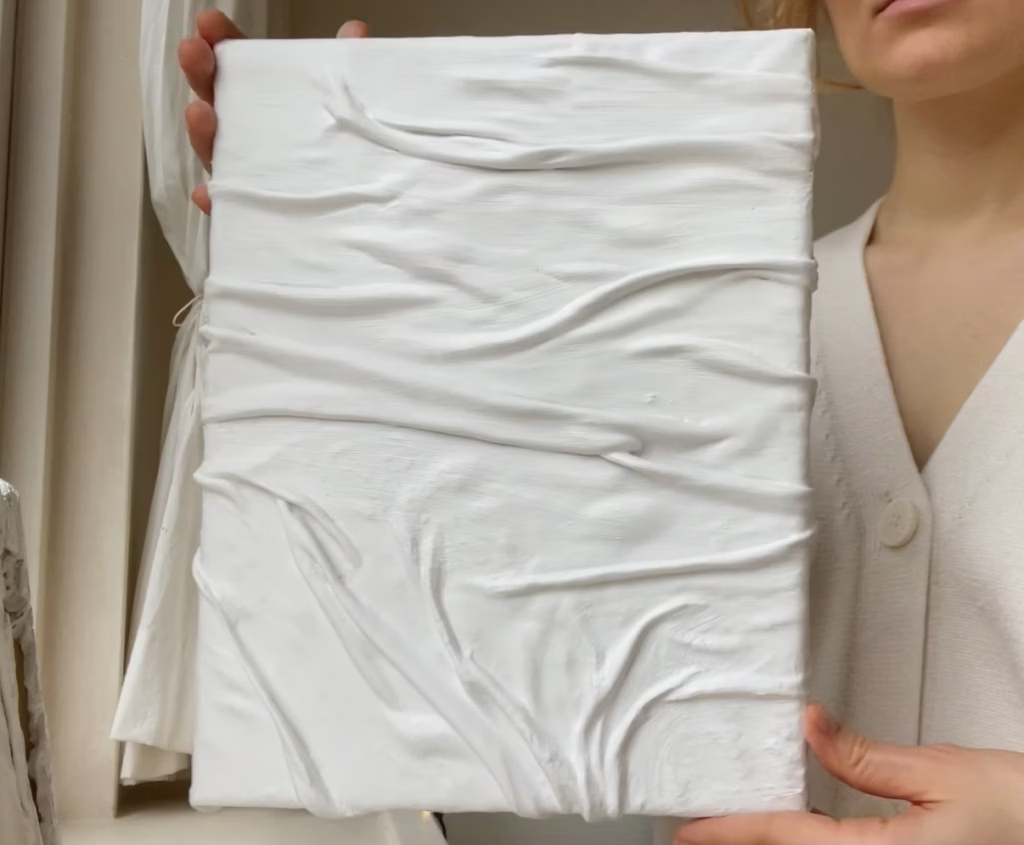
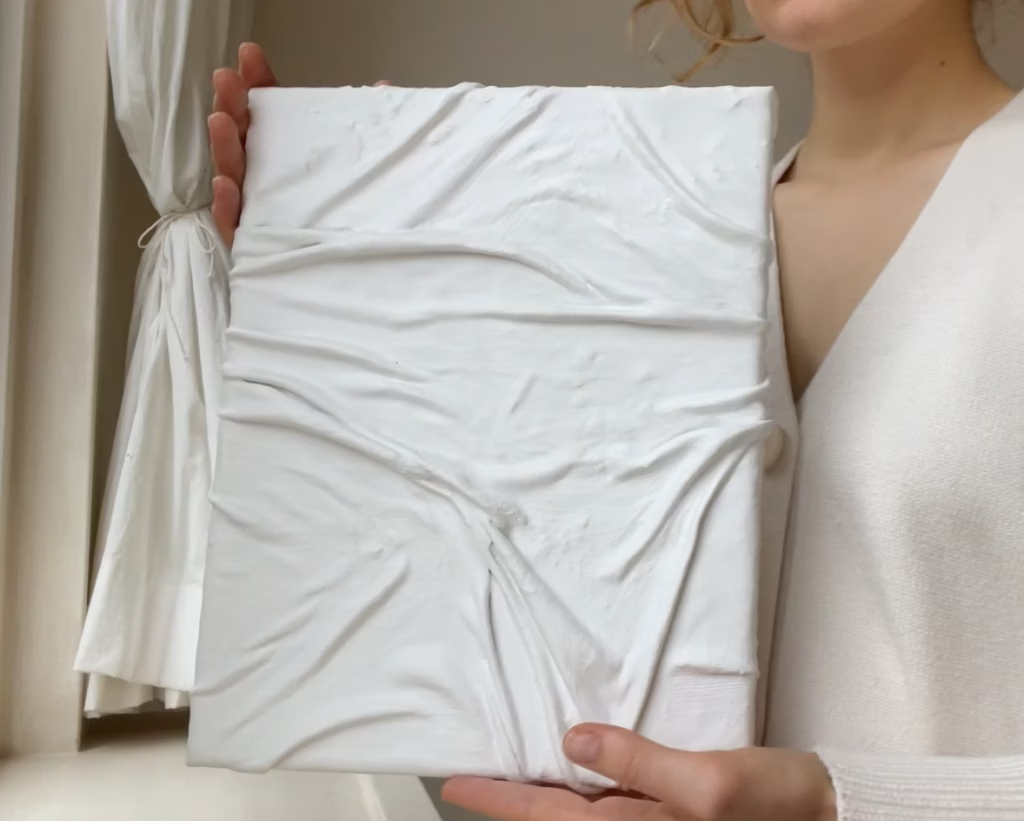
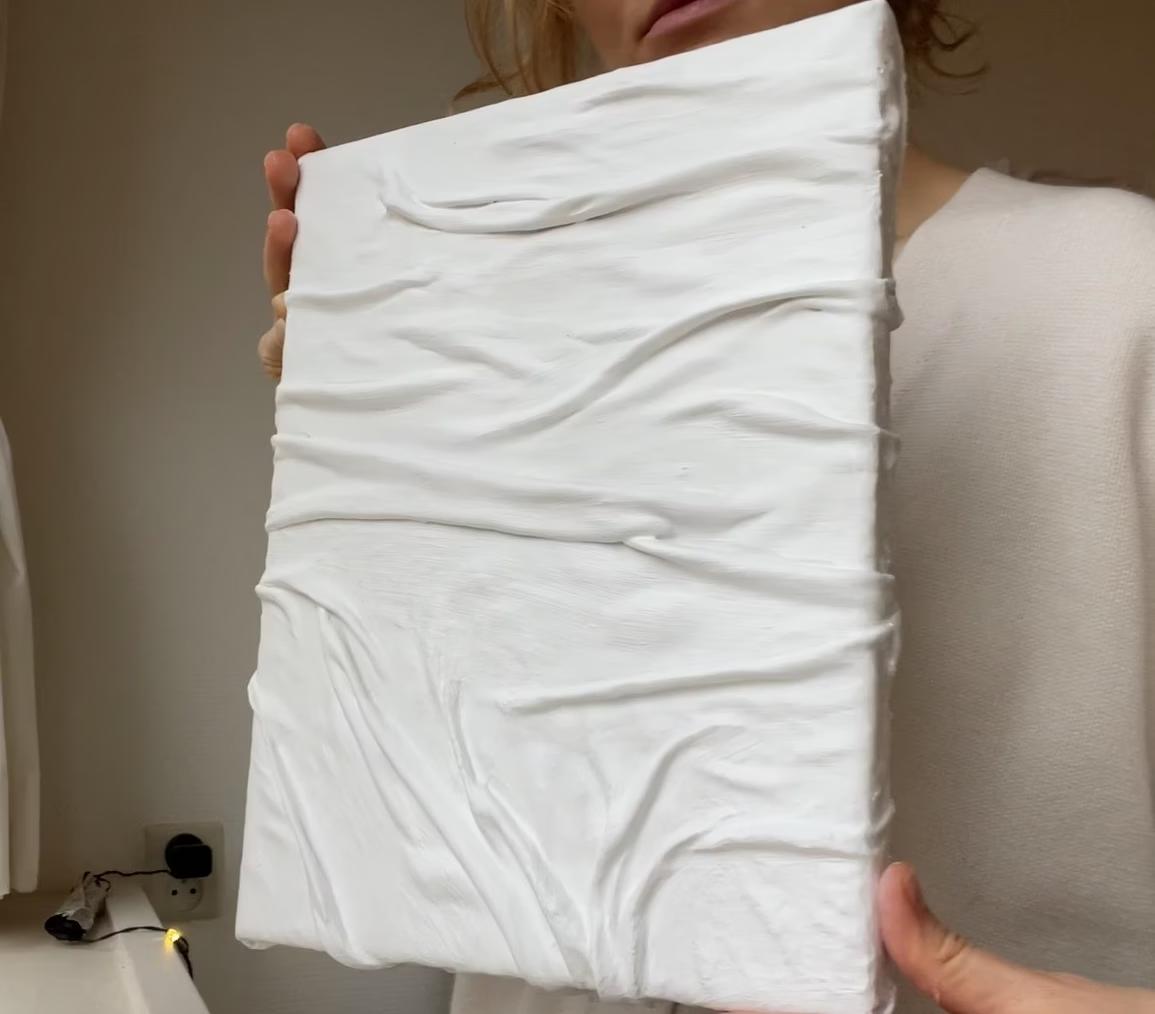
Results
Here are my three finished textured plaster artworks on canvas. I plan to hang them in a row in my bedroom, and I’m sure they’ll add a fresh, updated look to the space.