Have you ever seen candles with a wax topping that looks just like whipped cream? At first, I thought creating this effect would be difficult, but I was surprised to discover how simple it is to make whipped soy wax at home. Inspired by these beautiful designs, I decided to try it myself. While my first attempt wasn’t perfect, after some practice, I figured out the best technique. In this guide, I’ll walk you through the entire process and share useful tips to help you achieve perfect whipped wax on your first try.
Prefer watching instead of reading? Check out my YouTube video, where I share the entire process of making whipped soy wax for candles.
You Will Need
These are affiliate links. If you purchase through these links, I may earn a small commission at no extra cost to you. Thank you for supporting my DIY journey!
- Soy wax: https://amzn.to/4g5IgOJ
- Cotton wick: https://amzn.to/3ON6T6E
- Wood Glue: https://amzn.to/3Xt2pqE
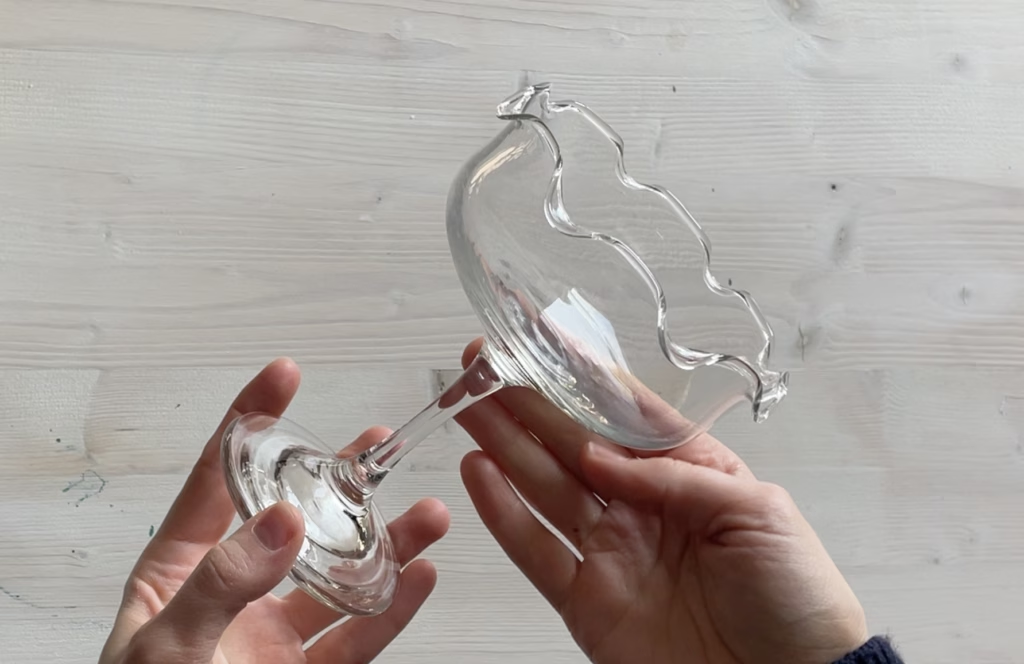
- Cocktail glasses: https://amzn.to/3QJejIX
- Mixer: https://amzn.to/4ifN058
Step 1: Measure the Wax
To determine how much wax you’ll need, start by filling your chosen candle jar with water, leaving about 1 cm of space at the top. Then, pour the water into a measuring cup—this measurement in milliliters (ml) represents the approximate amount of melted wax your jar can hold.
For a whipped wax candle, you’ll need to melt more wax than for a regular candle because some wax is lost during the whipping and piping process. For example, my jar held 250 ml of water, so I melted 400 ml of soy wax. This amount was just right—I had a small amount of leftover wax, which I saved for future candle-making projects.
Step 2: Prepare the Candle Jar
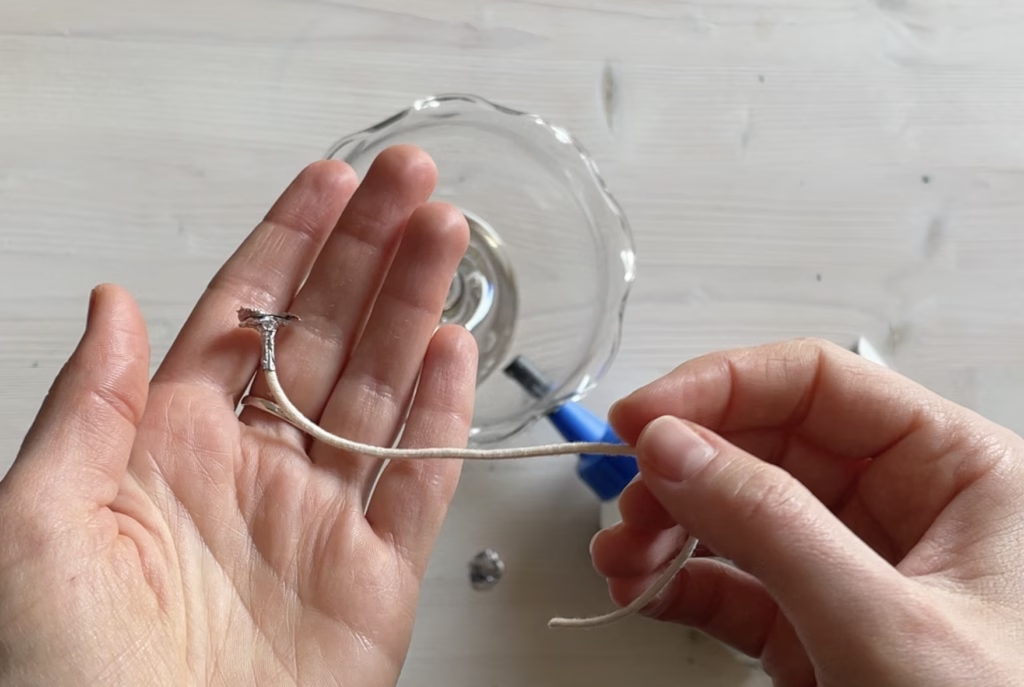
Before assembling your candle, ensure that the jar is completely dry. Next, cut the wick to the appropriate length based on the size of your jar.
To secure the wick in place, you’ll need a wick holder. You can either use a store-bought wick holder or make a simple one using a small piece of aluminum foil. Attach the wick holder to the bottom end of the wick and secure it to the center of the jar using glue or a double-sided adhesive sticker. This will keep the wick steady while pouring the wax.
Step 3: Melt the Wax
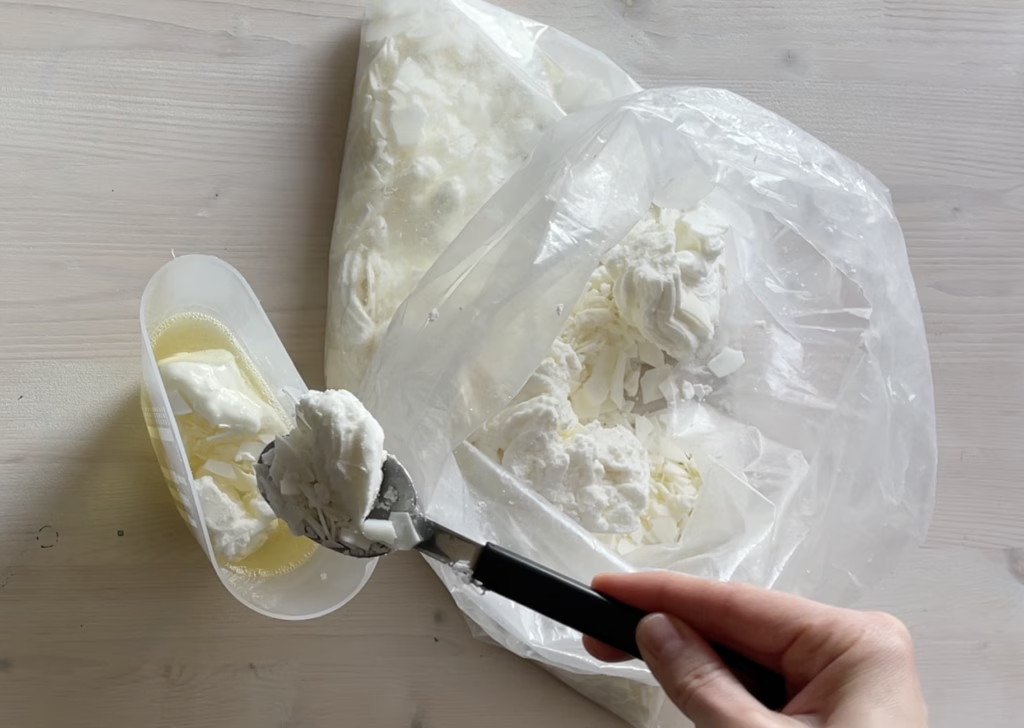
Now that you know the exact amount of wax needed, it’s time to start melting. If you’re using soy wax flakes, don’t hesitate to add more than the measured amount—since there’s air between the flakes, the liquid wax will take up less space once melted.
I filled my measuring cup with wax flakes to the top and placed it in the microwave. After 3 minutes of heating, the wax was fully melted. I then checked the liquid level in the cup, and since it was still below the needed amount, I added more wax flakes and microwaved them for another 1.5 minutes. After this second round of melting, I had the right amount of wax ready for the next step.
Step 4: Cool Down the Wax
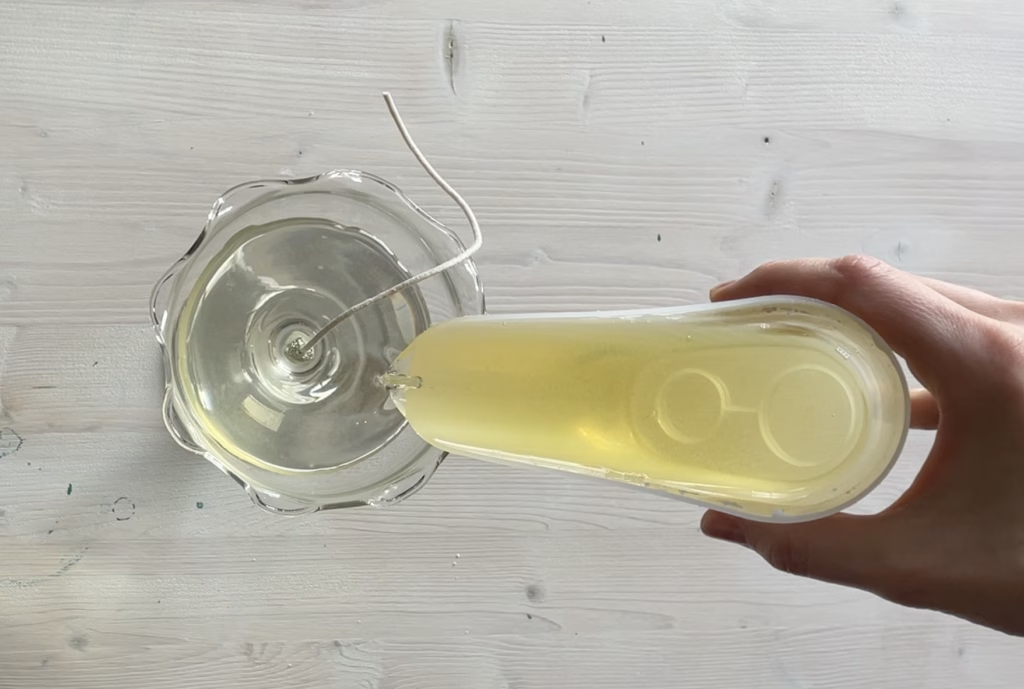
Now that the wax is fully melted, pour a small amount into the candle jar—just enough to cover the wick holder. This helps secure the wick in place before adding the whipped wax later.
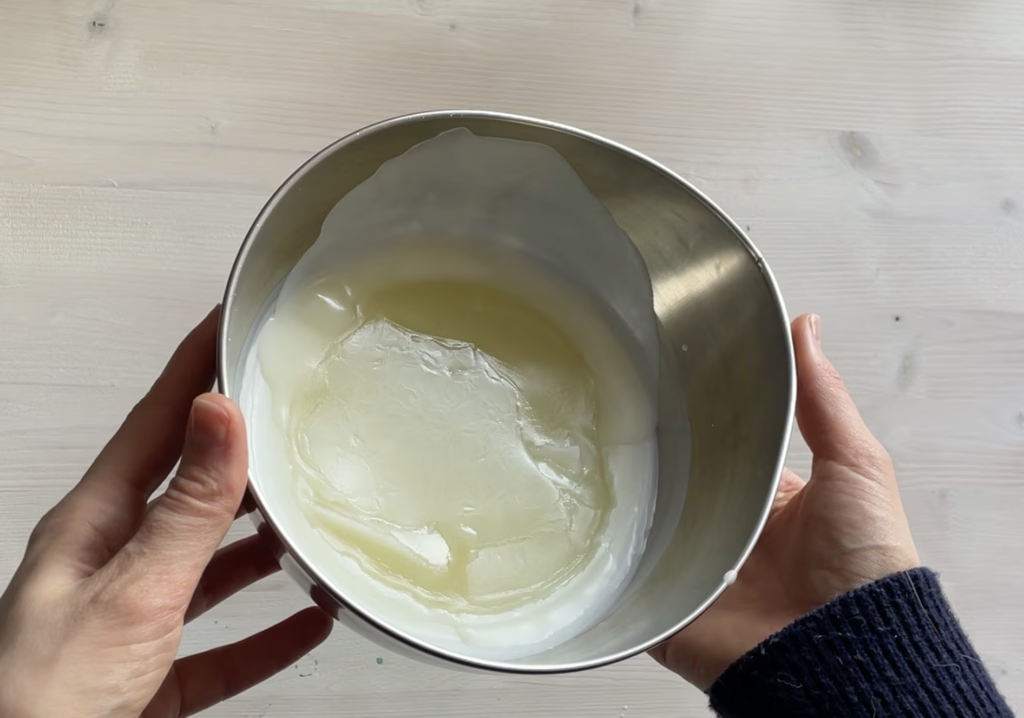
The remaining wax will be used for whipping. To bring it to the right consistency, place the container in the freezer for about 8 minutes. Once the surface starts turning white, the wax has reached the perfect temperature for whipping.
Step 5: Whip the Wax
Once the wax has cooled, use a spoon to scrape any hardened wax from the sides of the container. Then, start whipping the wax using a hand mixer on the highest setting.
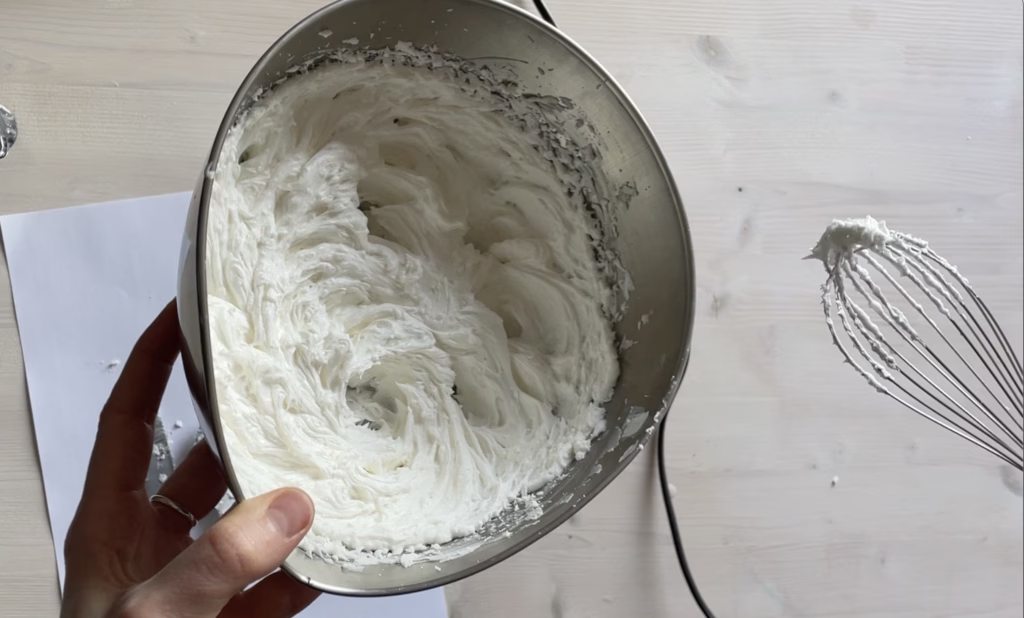
The whipping process takes about 9 minutes. Periodically, scrape the sides with a spoon to ensure an even texture. The wax is ready when it forms peaks but remains smooth and airy—this is the perfect consistency for piping.
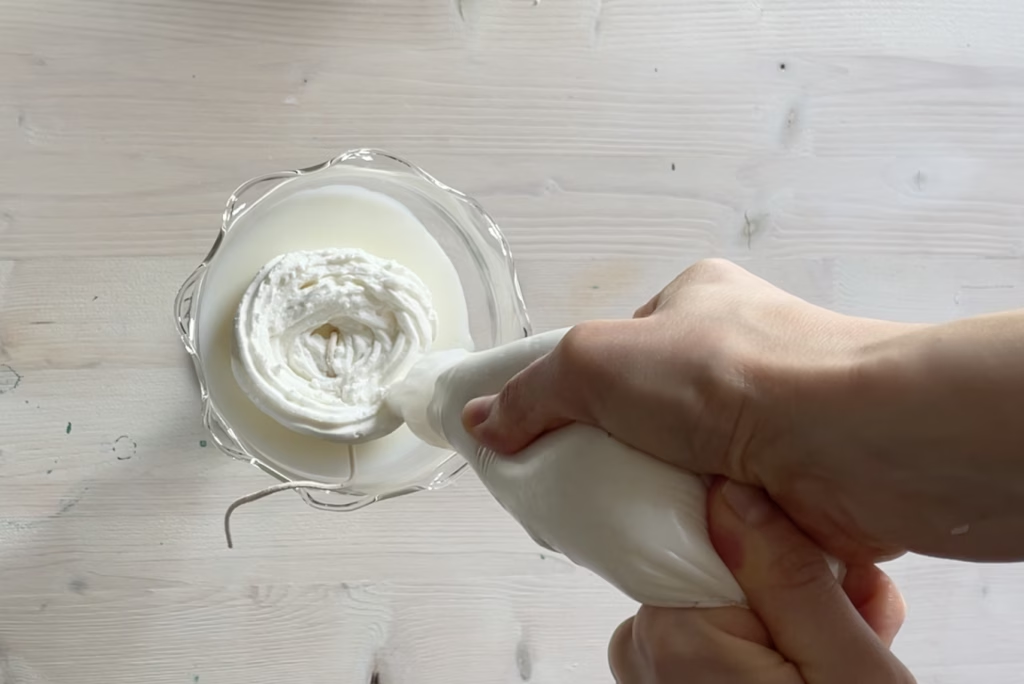
Step 6: Pipe the Wax
Choose a piping tip that’s not too narrow for a smooth, even application. Fill the piping bag halfway with the whipped wax—be careful not to overfill it, as this can cause wax to squeeze out from both sides while piping.
Begin piping the wax into the candle jar. For a clean, even pattern, apply consistent pressure and move the bag smoothly. Don’t worry if the wick gets covered with wax during this step—you can always pull it back up once you’ve finished piping.
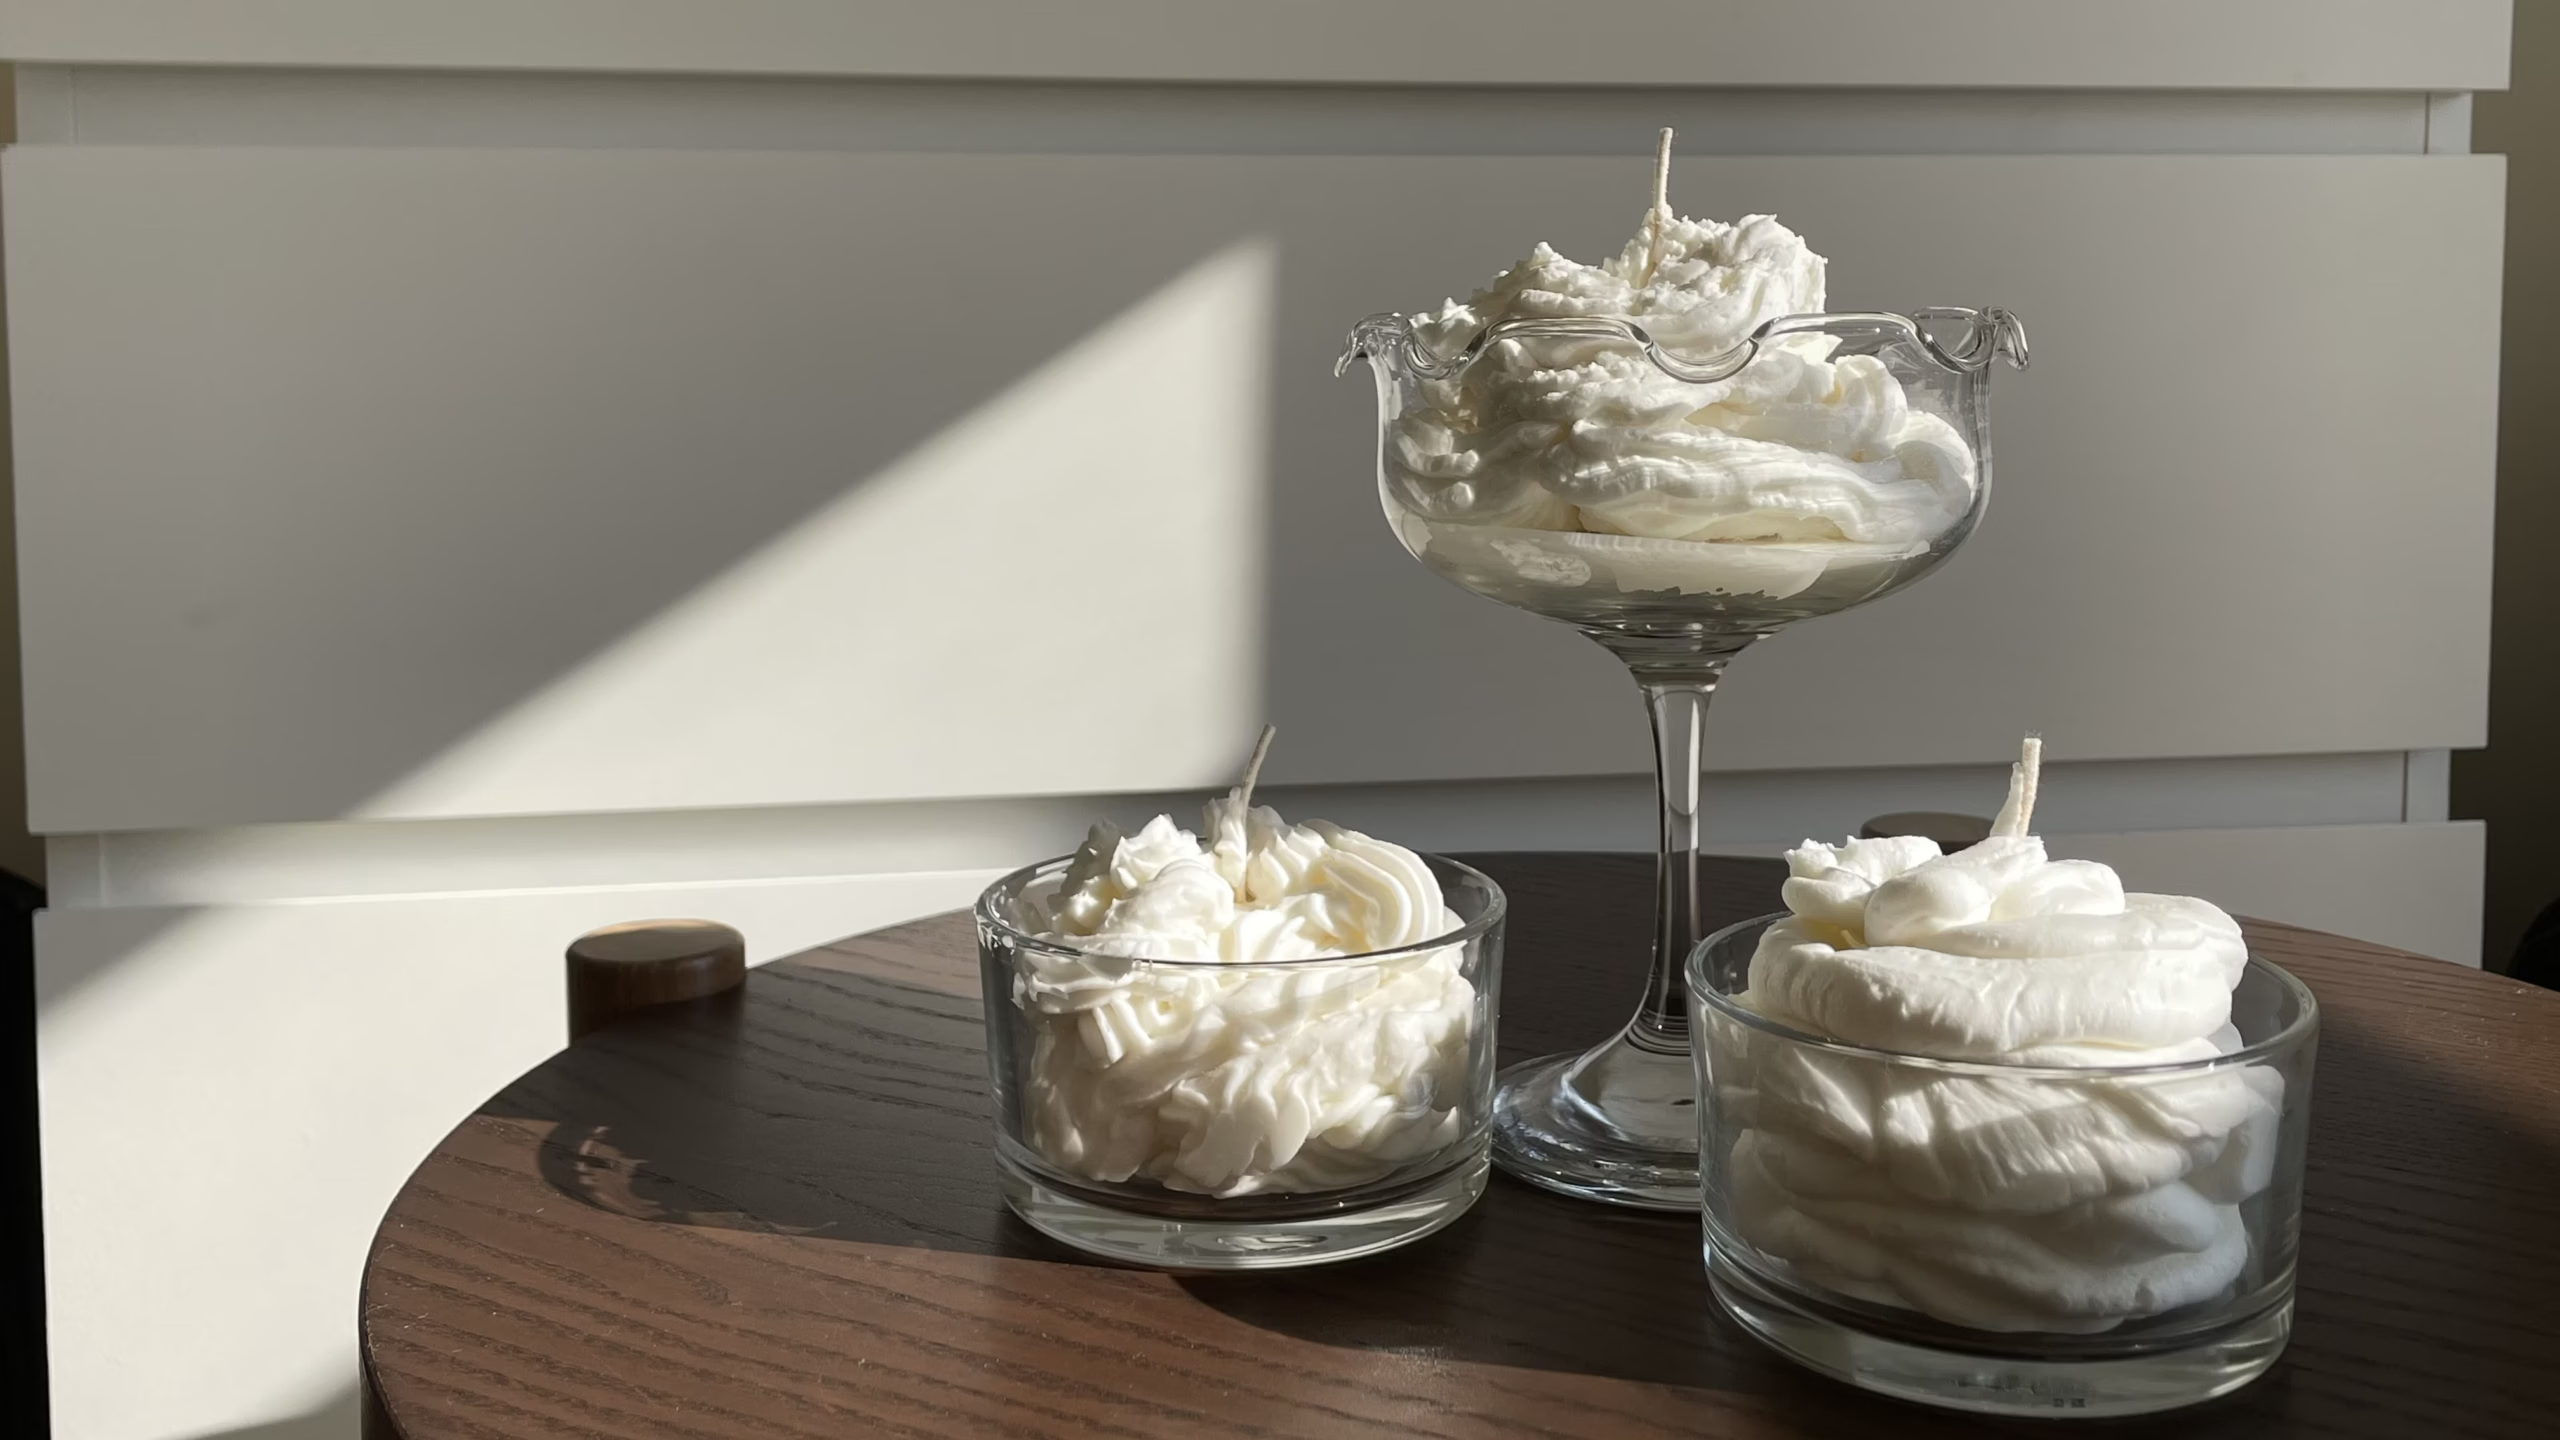
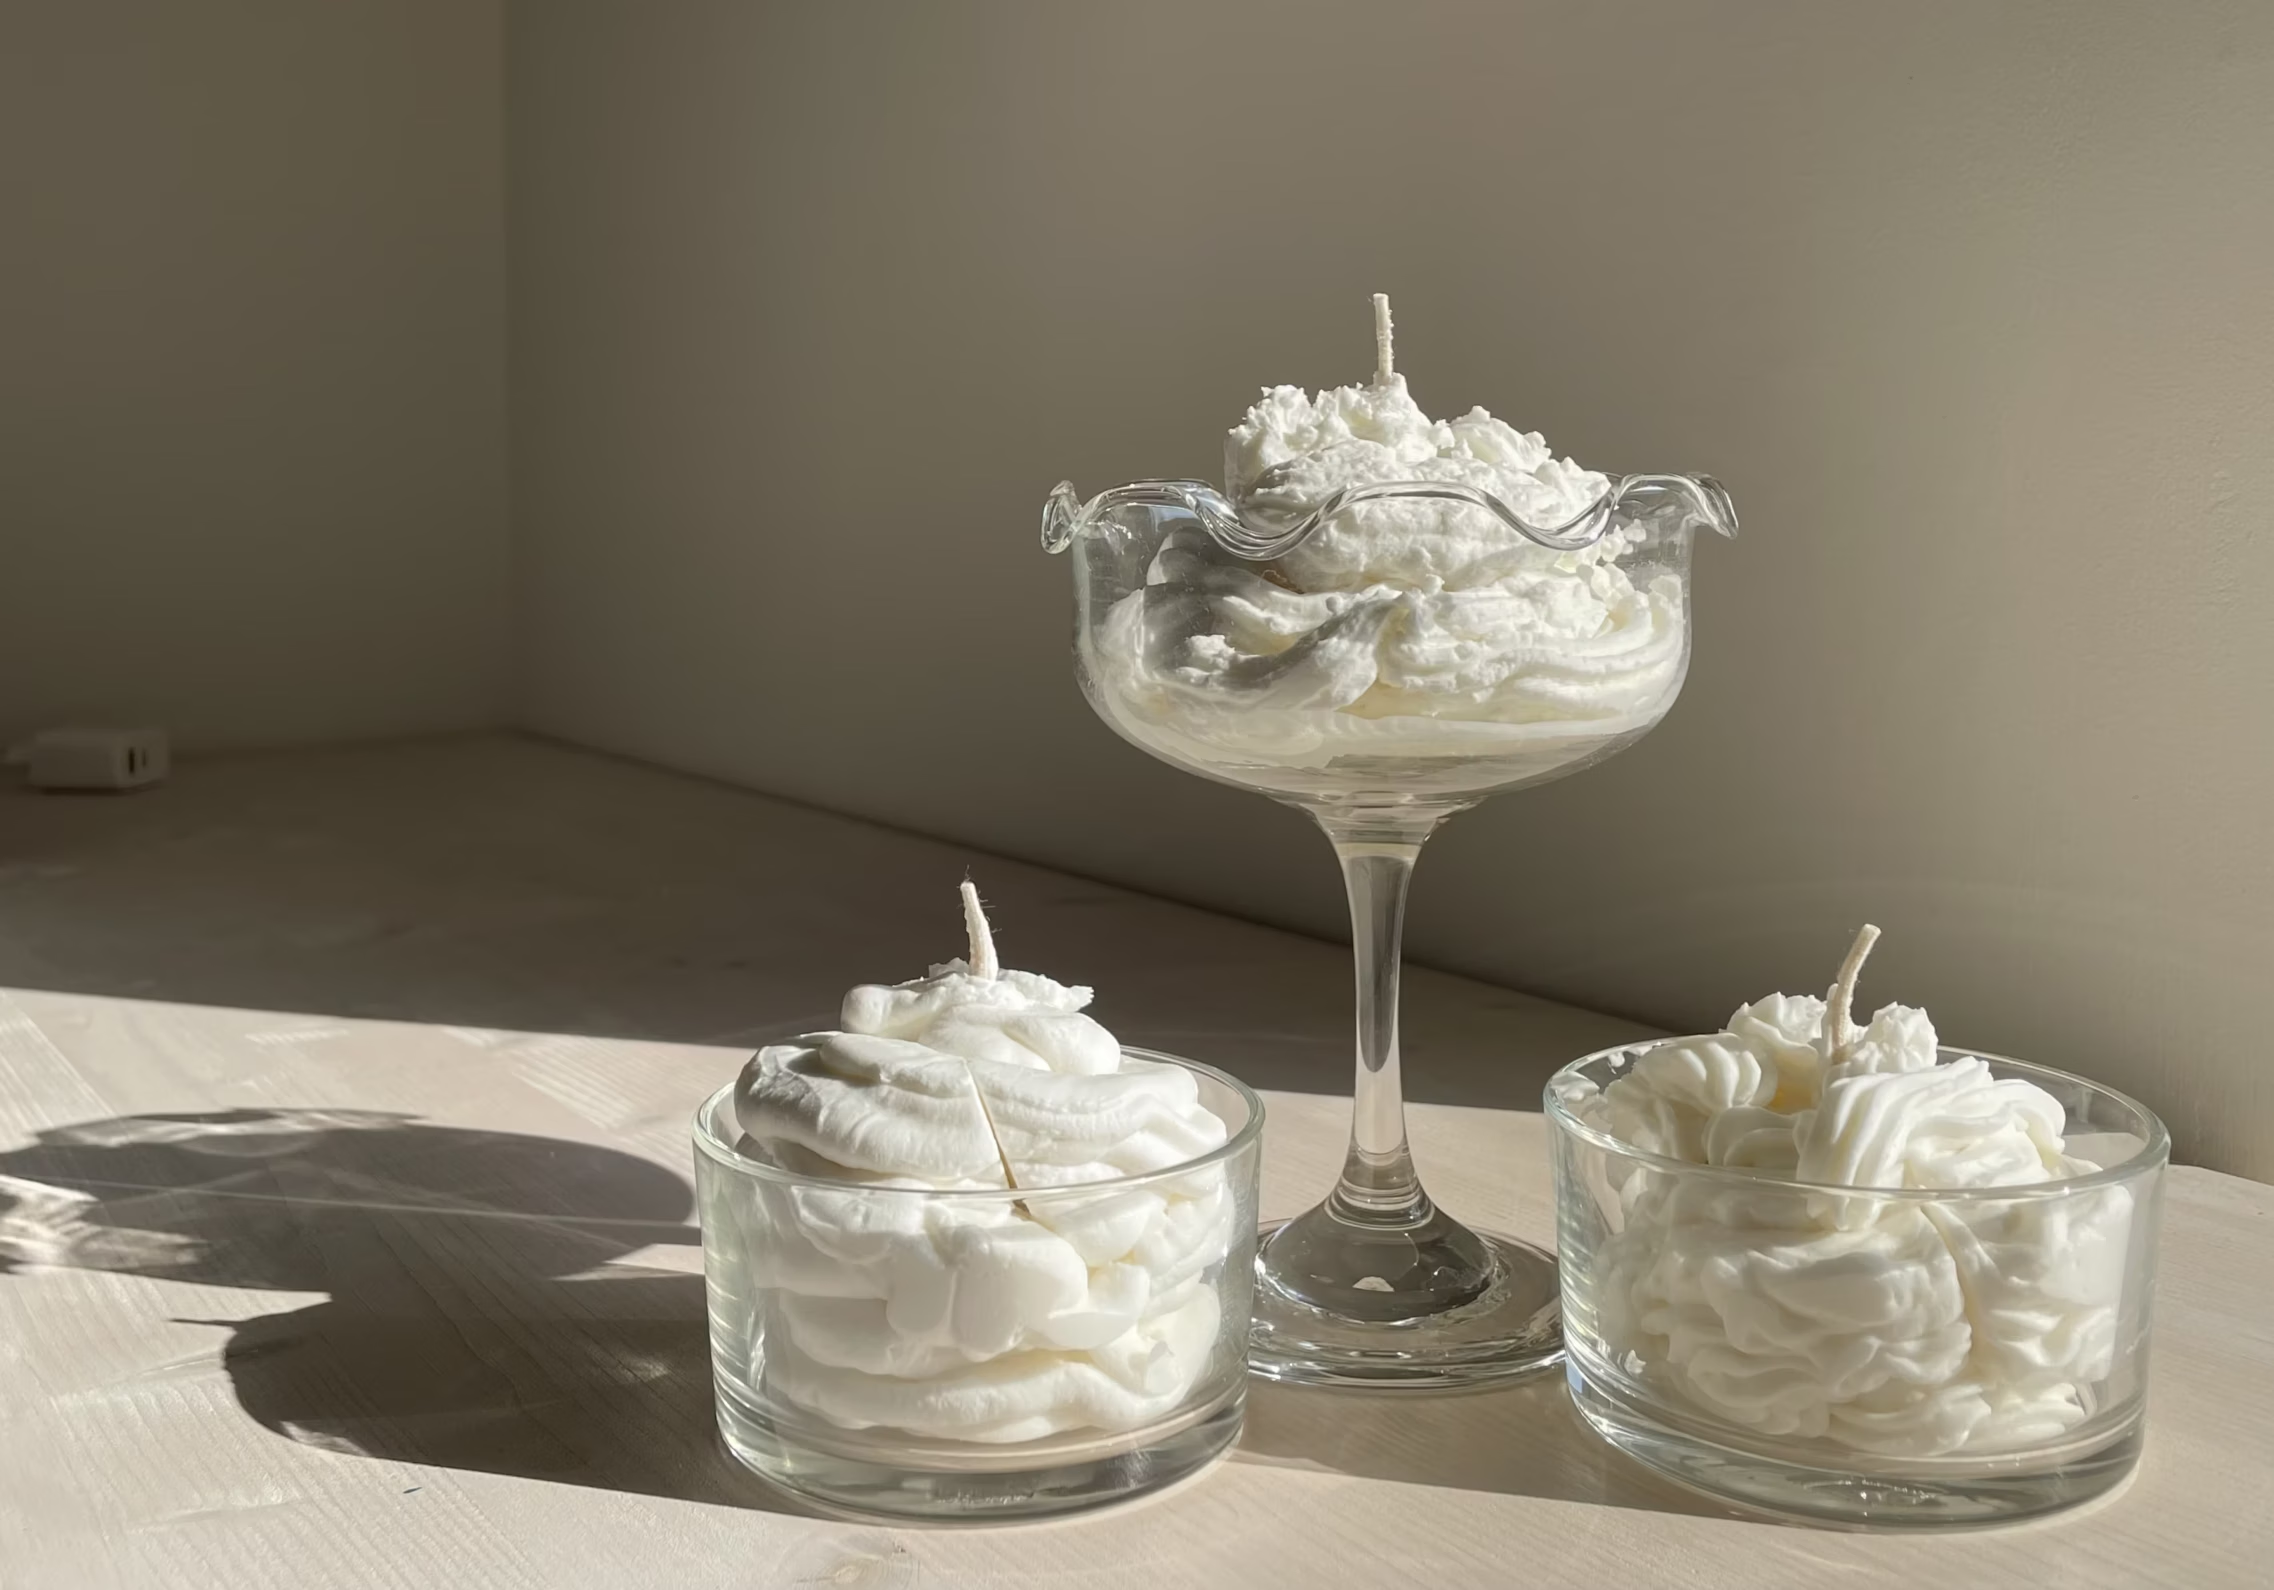
Final Results
Your whipped wax candle is now complete! The beauty of whipped wax is that you can get as creative as you like with the design. Consider making a candle that looks like a cup of coffee with whipped cream, an ice cream cone, or even a cute cupcake.
The finished product is not only visually stunning but also sure to draw attention. Have fun experimenting with different designs, and good luck with your candle-making project!