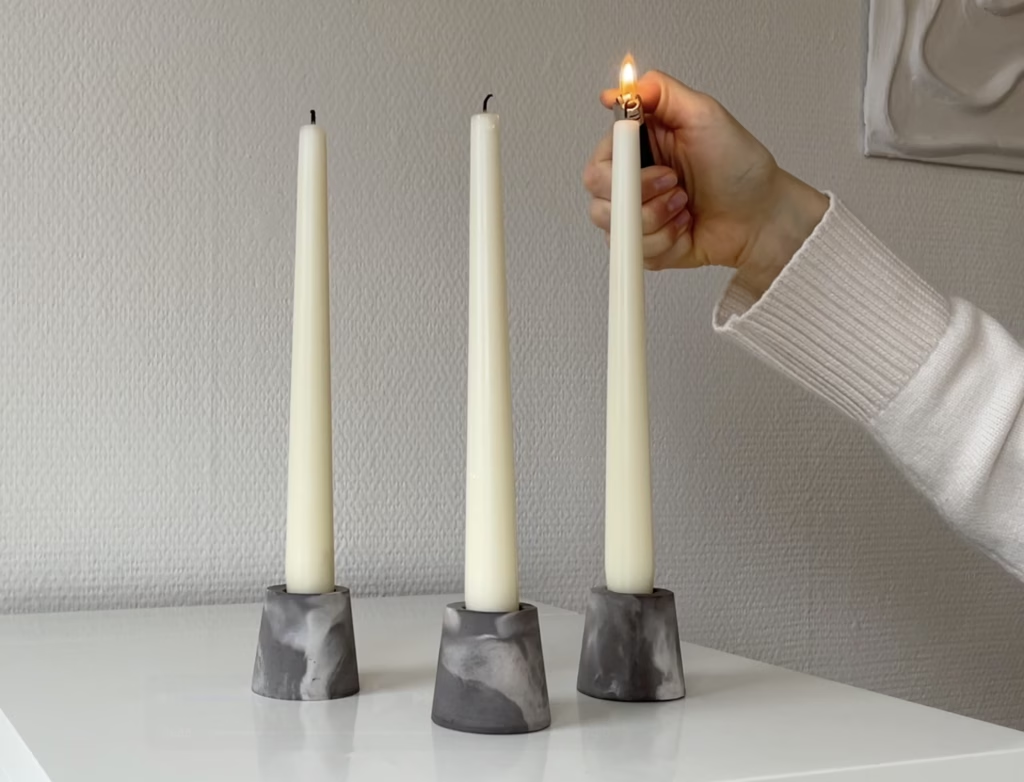
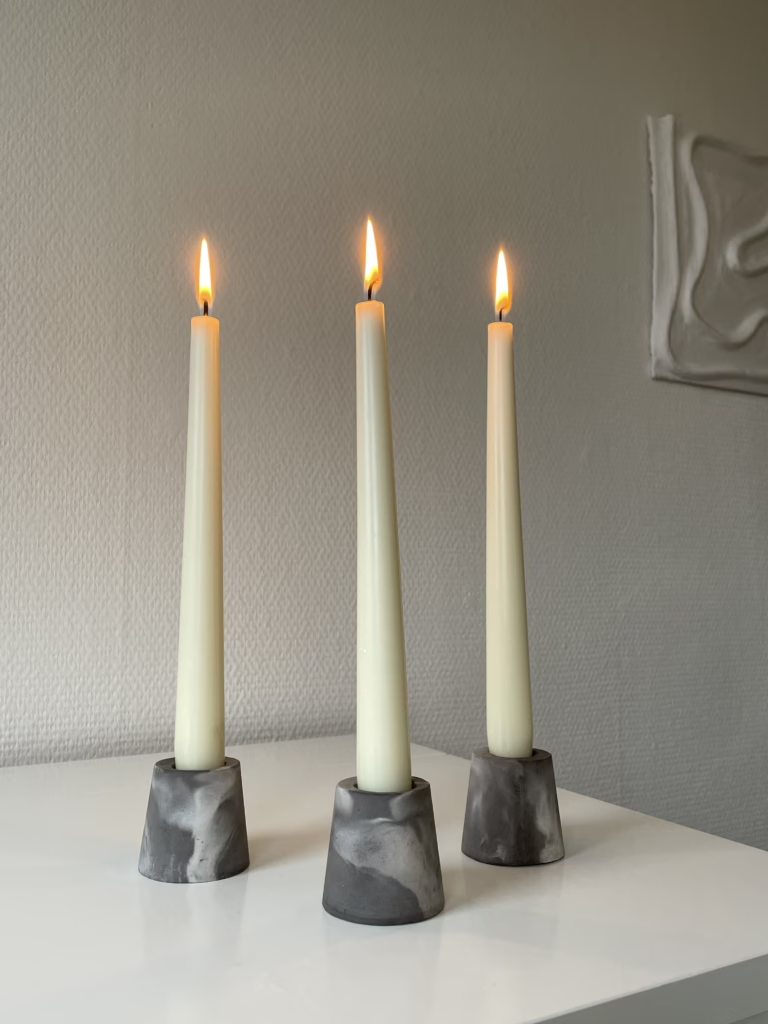
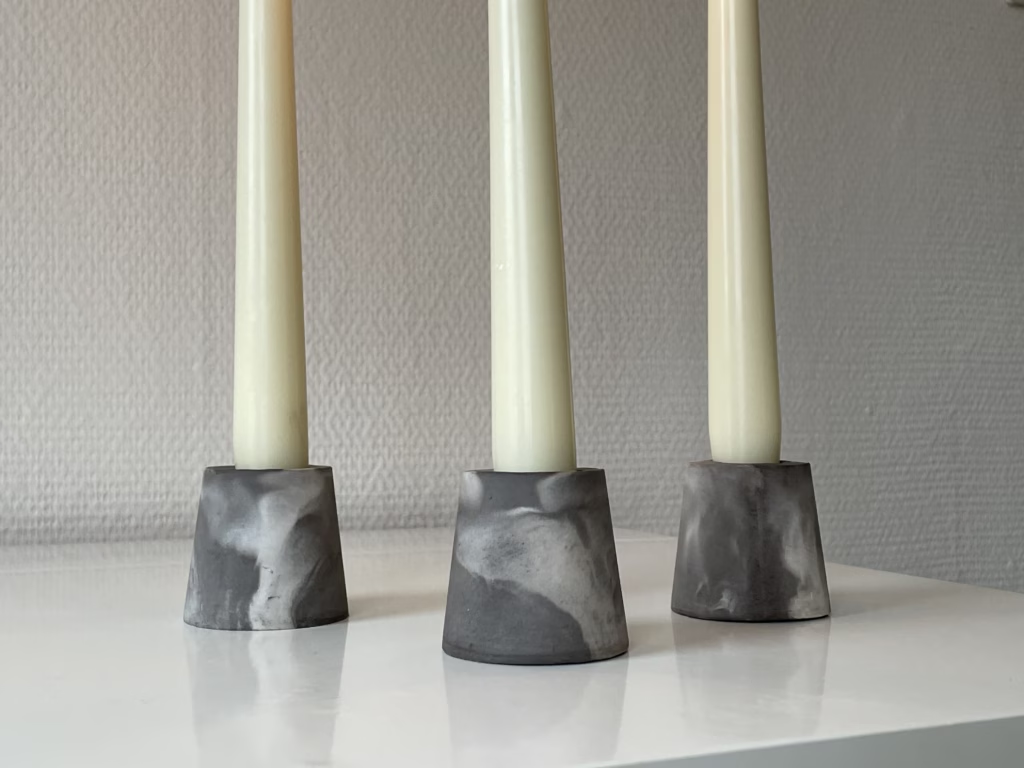
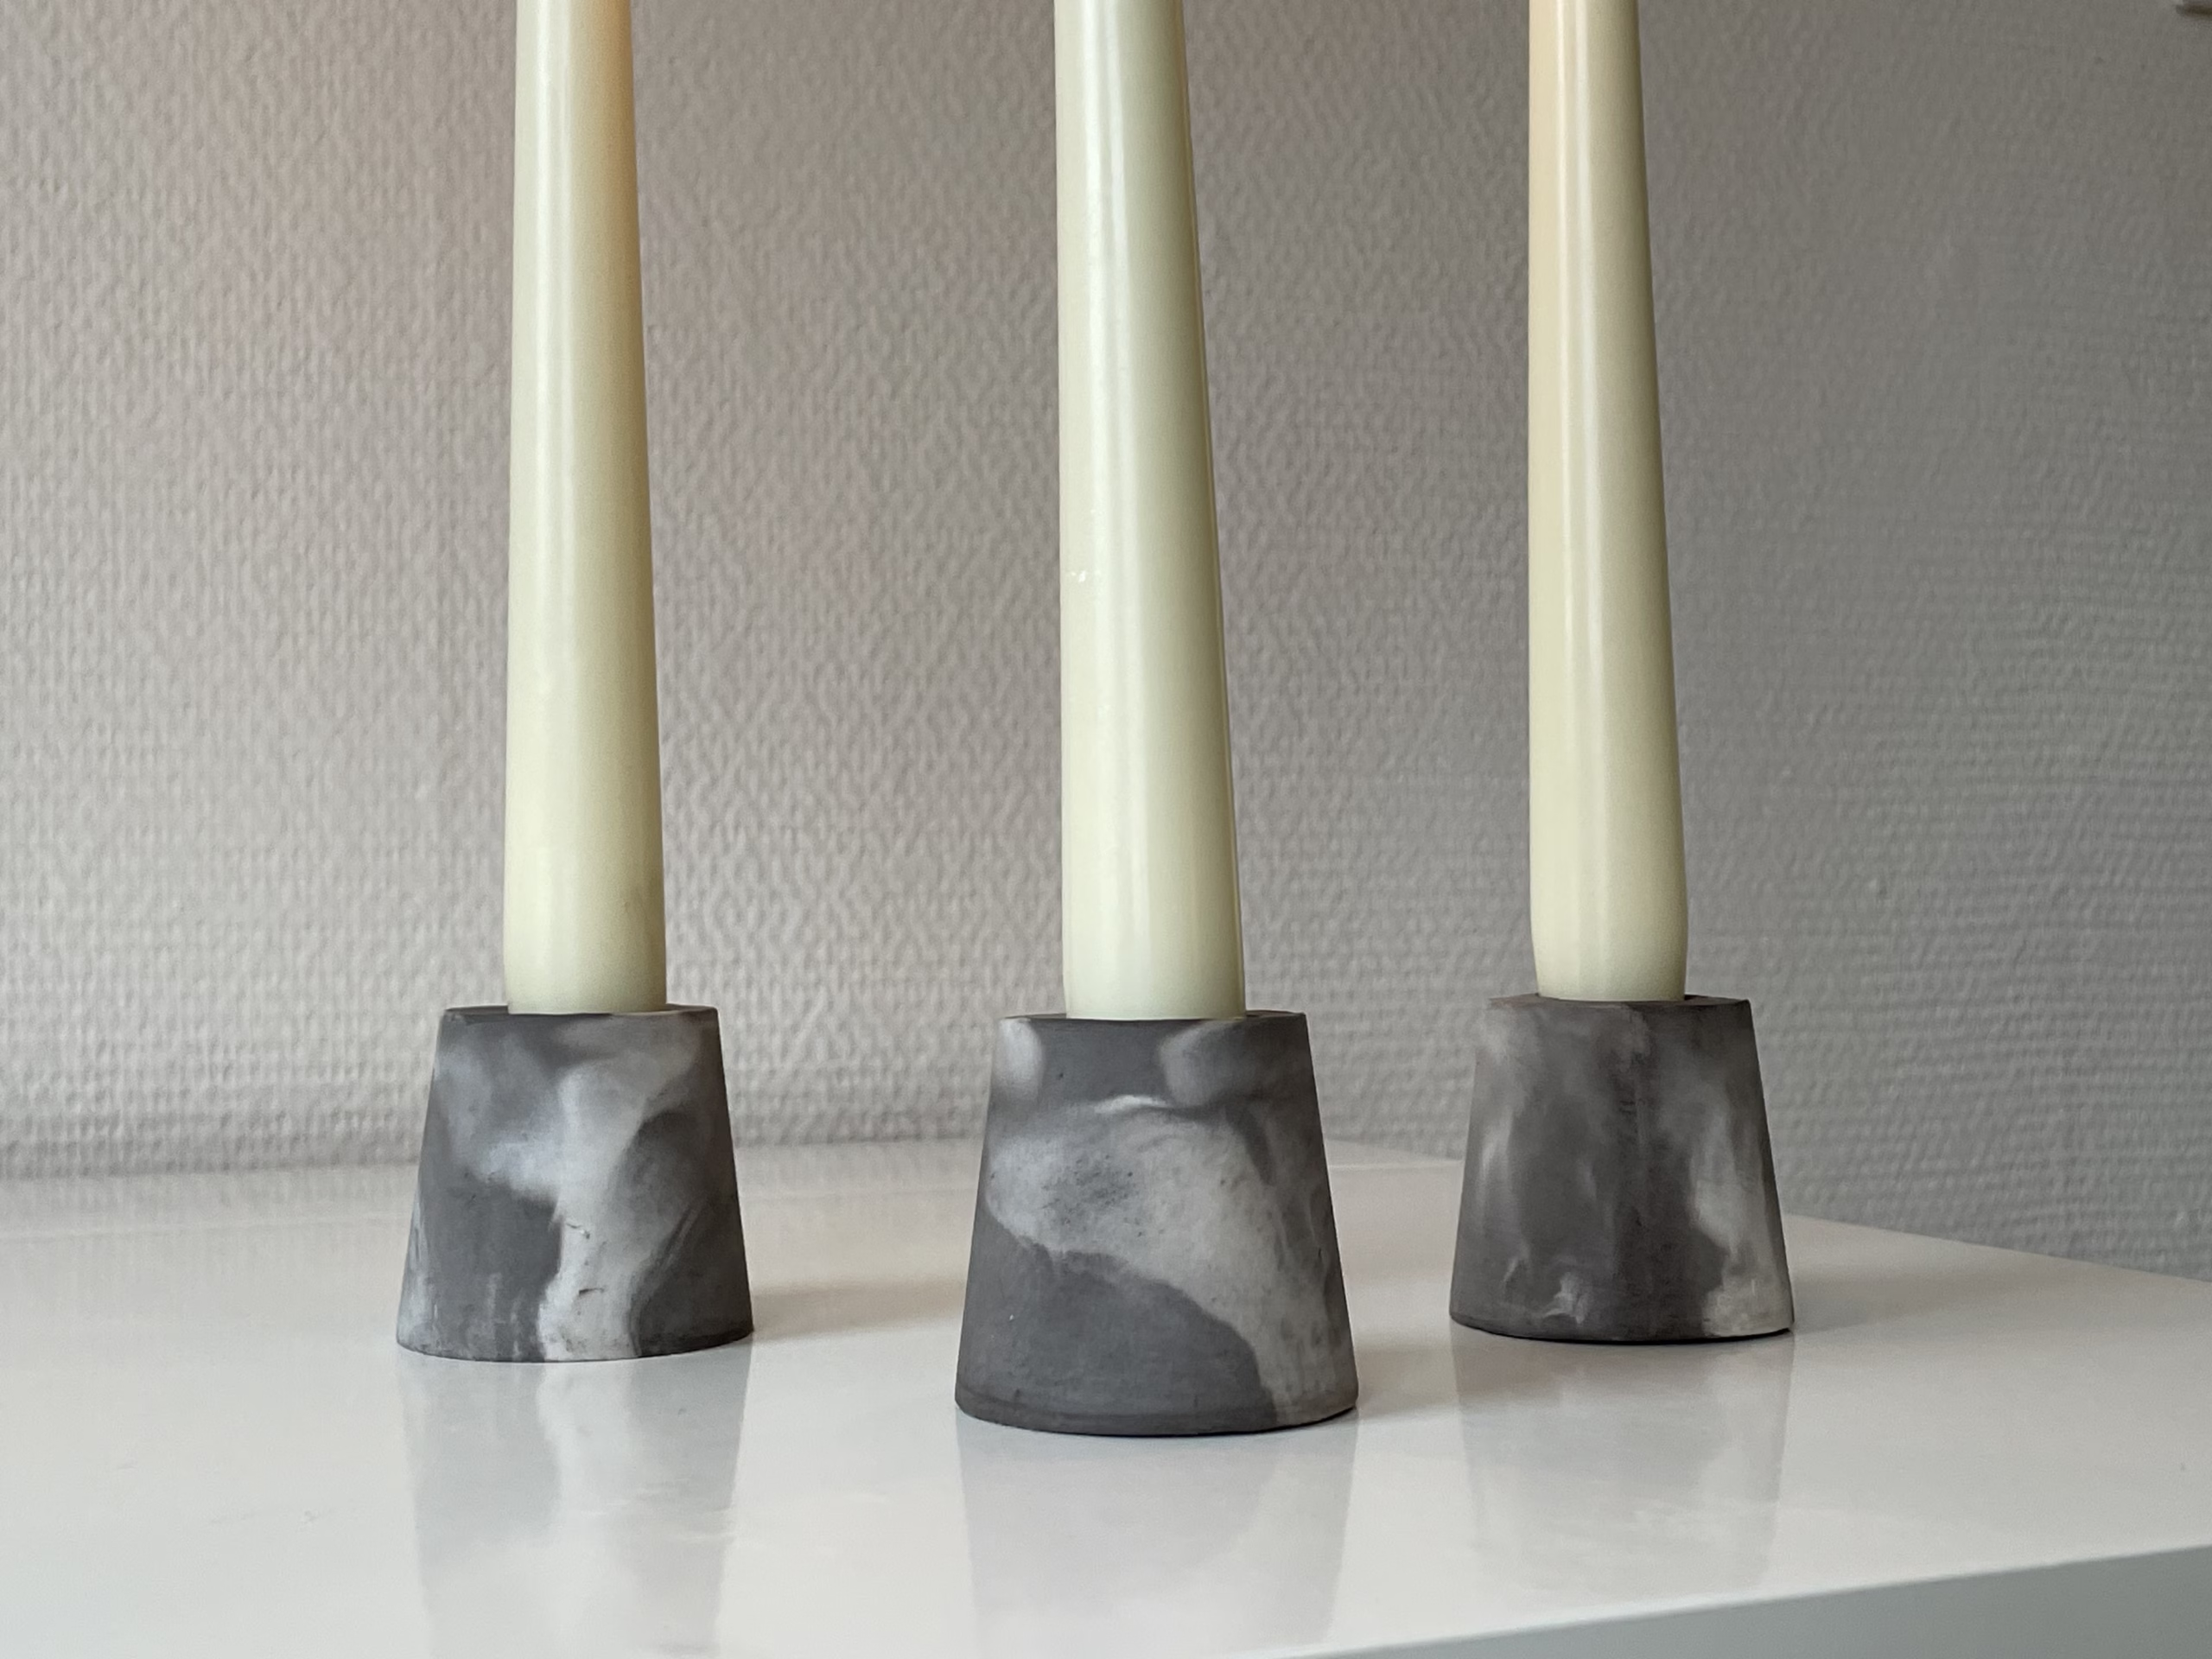
Lately, I’ve been experimenting with colored gypsum and discovered a way to create a beautiful marble-like effect. The result is elegant candle holders that resemble high-end stone pieces, yet they’re made from simple and affordable materials.
In this tutorial, I’ll show you how to make these marble-effect candle holders step by step. They’re a perfect way to add a touch of sophistication to your home without breaking the bank.
Prefer watching instead of reading? Check out my YouTube video, where I share the entire process of making stone-look candle holders.
You Will Need
These are affiliate links. If you purchase through these links, I may earn a small commission at no extra cost to you. Thank you for supporting my DIY journey!
- Plaster of Paris: https://amzn.to/3ZYpylf
- Iron oxide pigment: https://amzn.to/4a5cSNX
- White candles: https://amzn.to/41ZhSl5
- Small paper cups: https://amzn.to/4j4Rbl9
- Double sided tape: https://amzn.to/4gGUQE8
Step 1: Prepare Molds
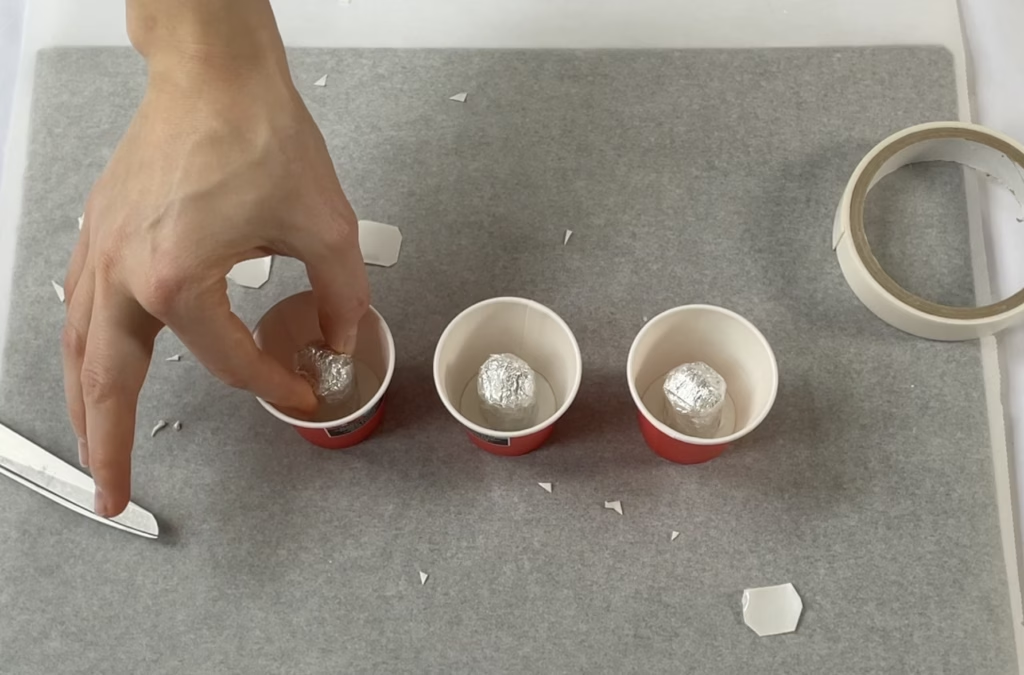
I used small paper cups, roughly the size of shot glasses, as molds for the candle holders. Since I wanted a cohesive set, I decided to make three. Candle holders often look more balanced and visually appealing when arranged as a set.
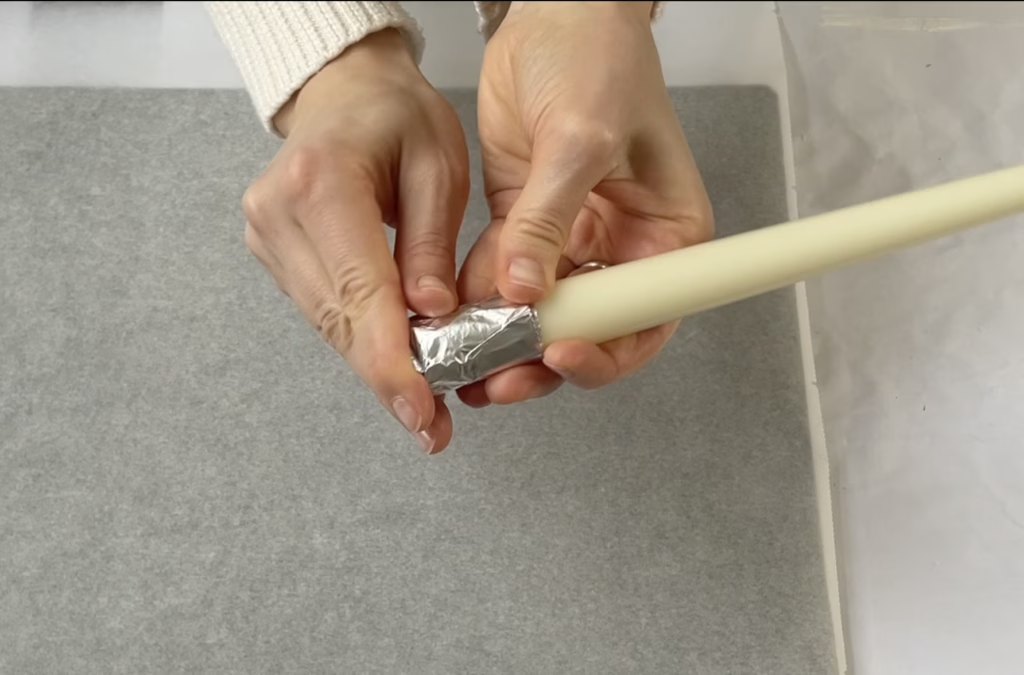
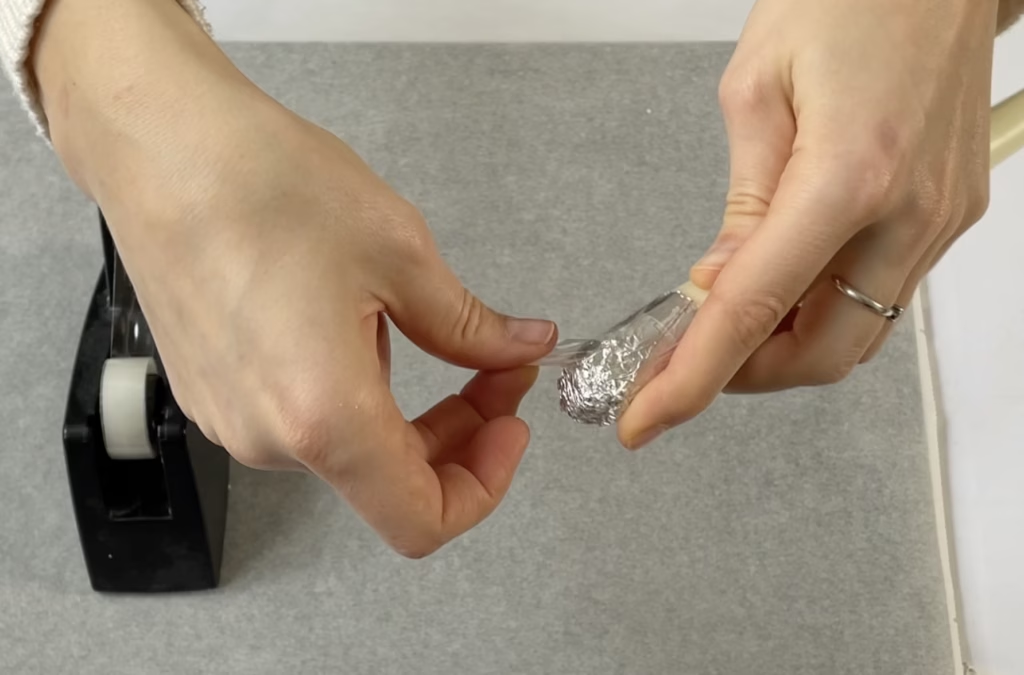
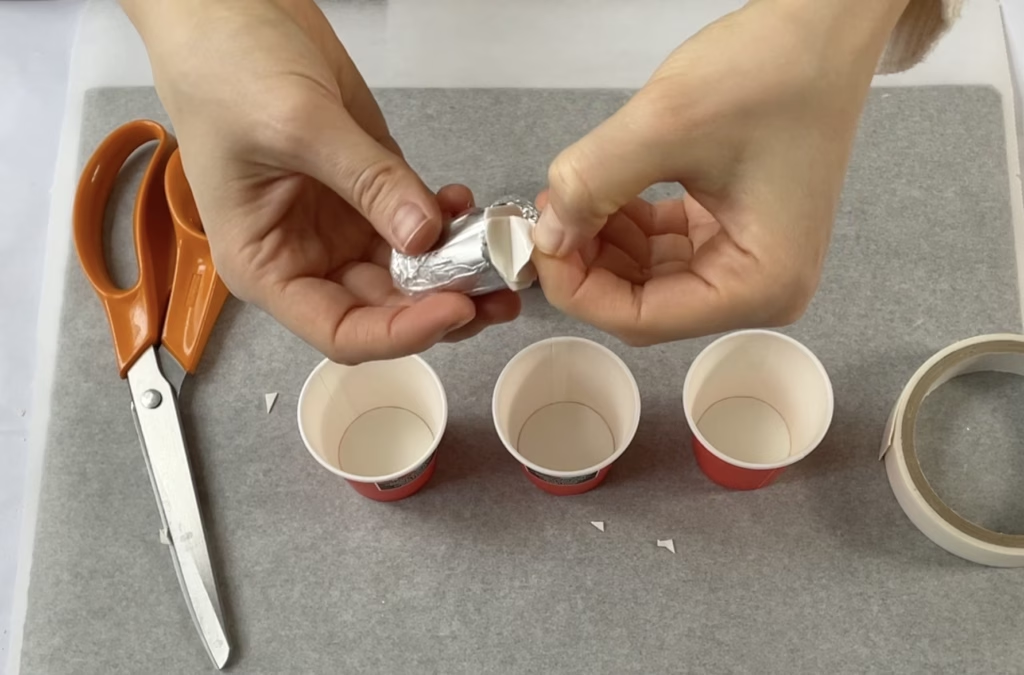
To create the openings for the candles, I wrapped the bottom of a candle in foil and secured it with transparent tape. Once the foil shape was formed, I carefully removed it from the candle. I sealed the bottom of the foil shape with double-sided tape and attached it to the center of the paper cup’s base. This step ensures that the finished candle holders will have an opening to insert the candles.
Step 2: Gypsum Casting
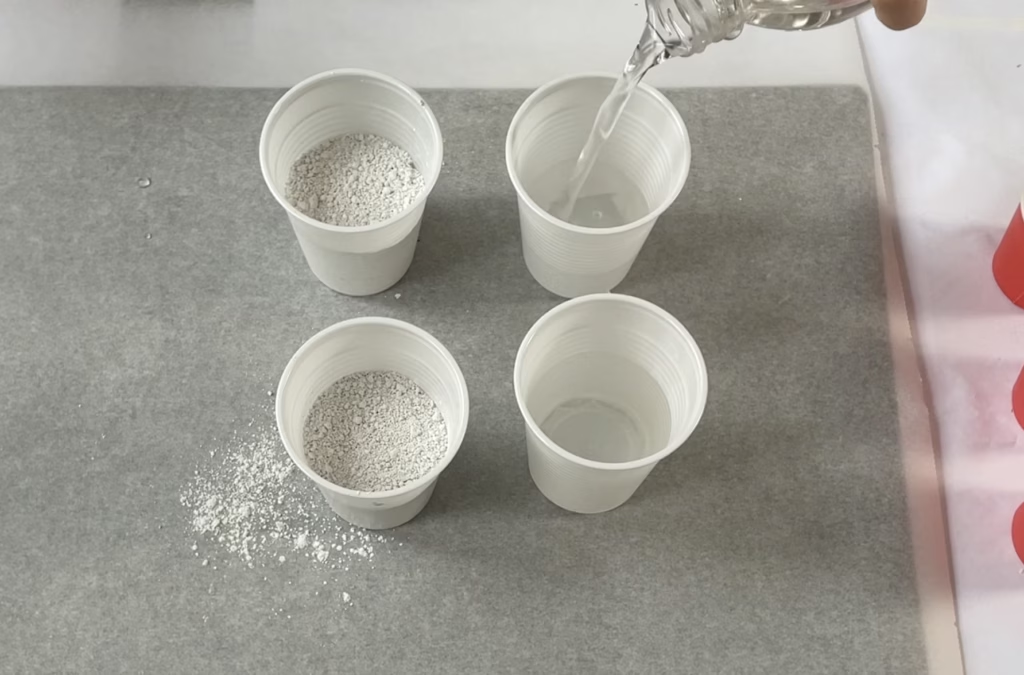
The next step was casting the gypsum into the molds. I used four plastic cups of the same size, filling two of them with an equal amount of modeling gypsum (Plaster of Paris). To maintain a 1:1 ratio of water to gypsum, I filled the other two cups with the same amount of water.
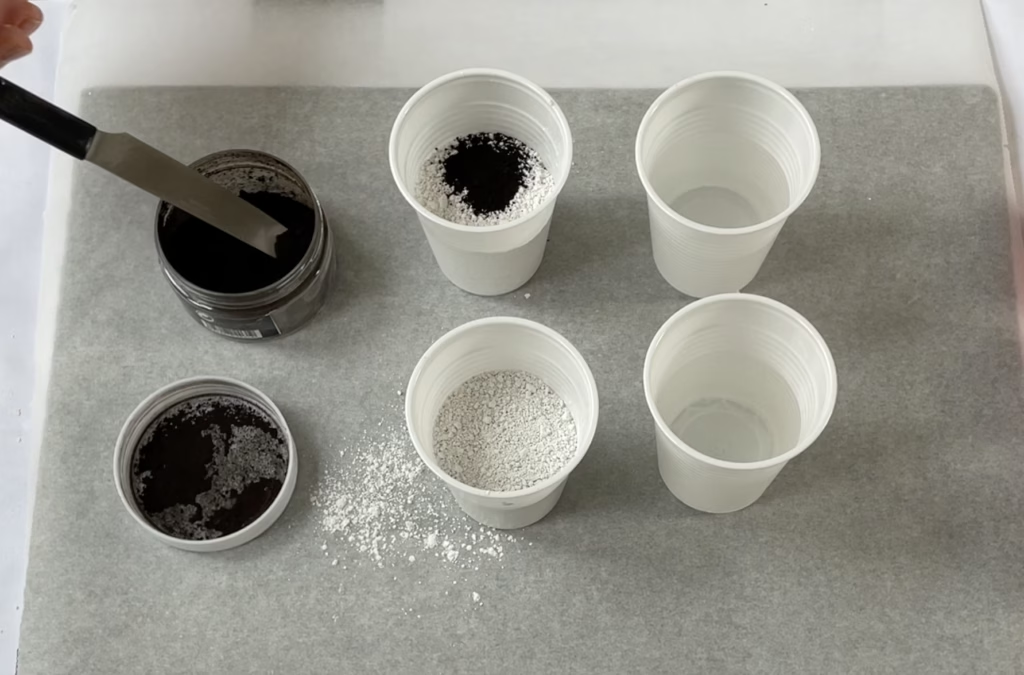
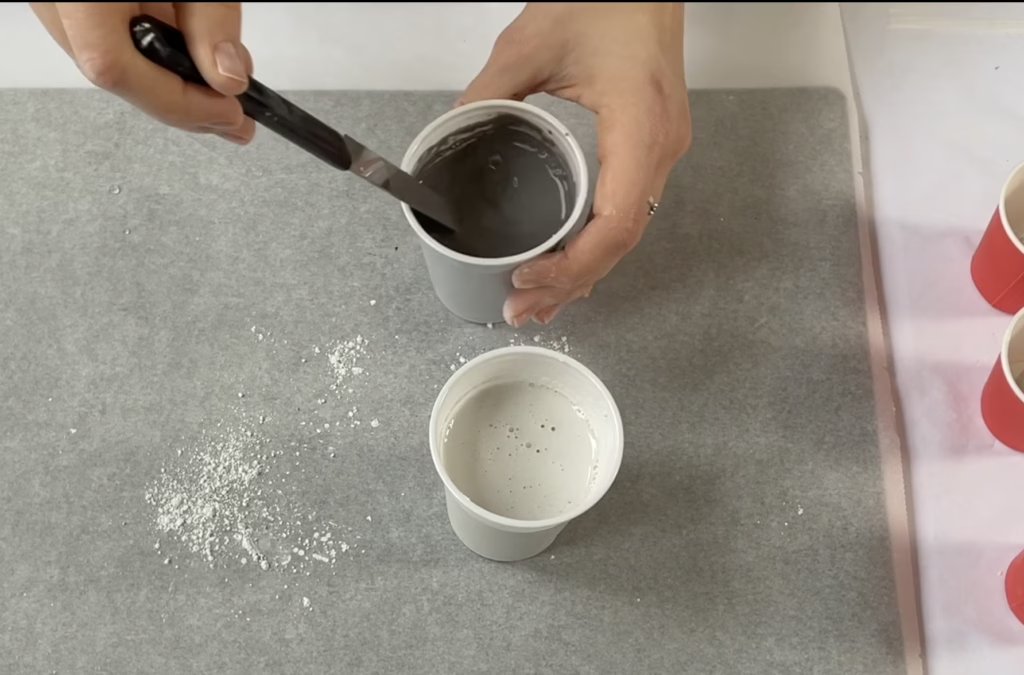
In one of the gypsum-filled cups, I added black iron oxide pigment (up to 5% of the gypsum’s weight) and mixed it thoroughly. Then, I combined the gypsum and water in both sets of cups, stirring each mixture carefully to ensure there were no lumps.
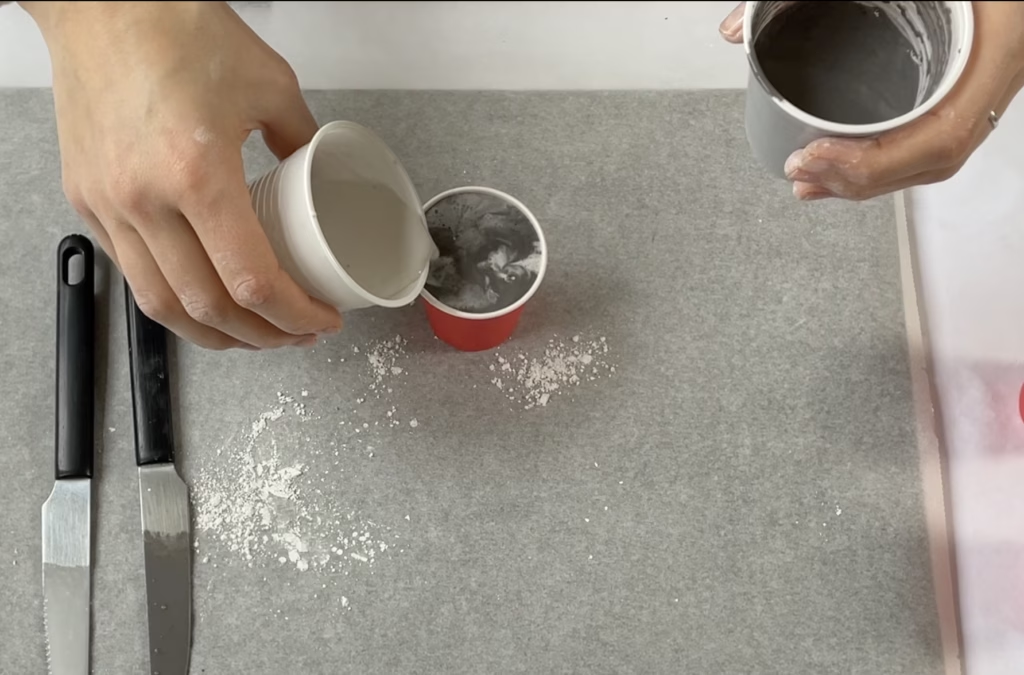
With two mixtures ready—one plain white and the other black—I poured them alternately into the molds to create a marble effect. Black was the primary color, while the white served as an accent to form the patterns. Once the molds were filled, I left the gypsum to dry for 24 hours.
Step 3: Final Touch-Ups
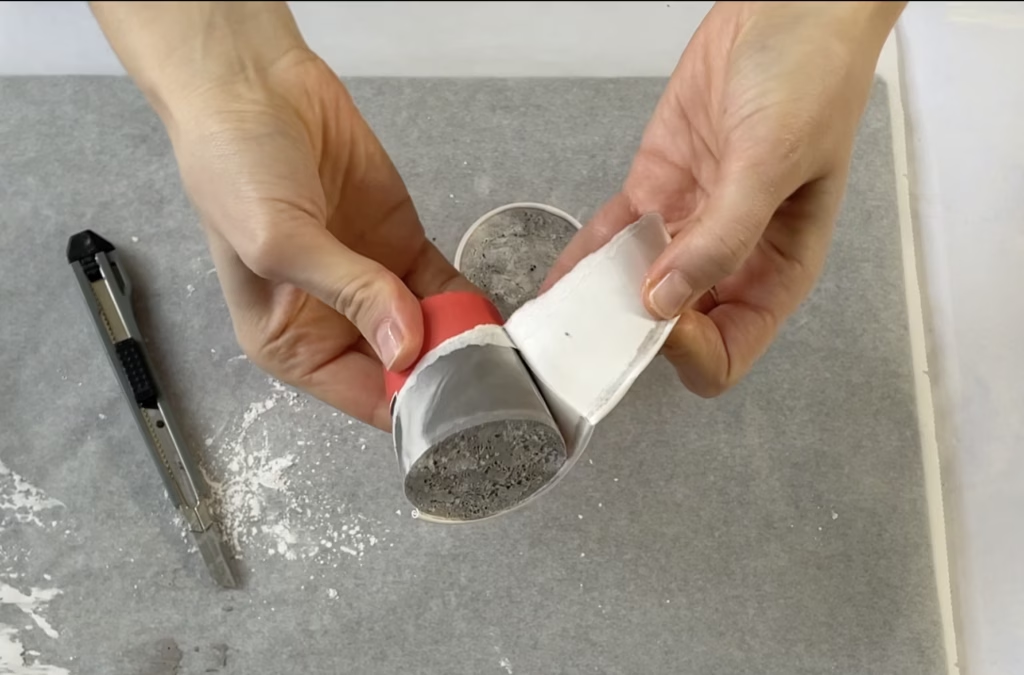
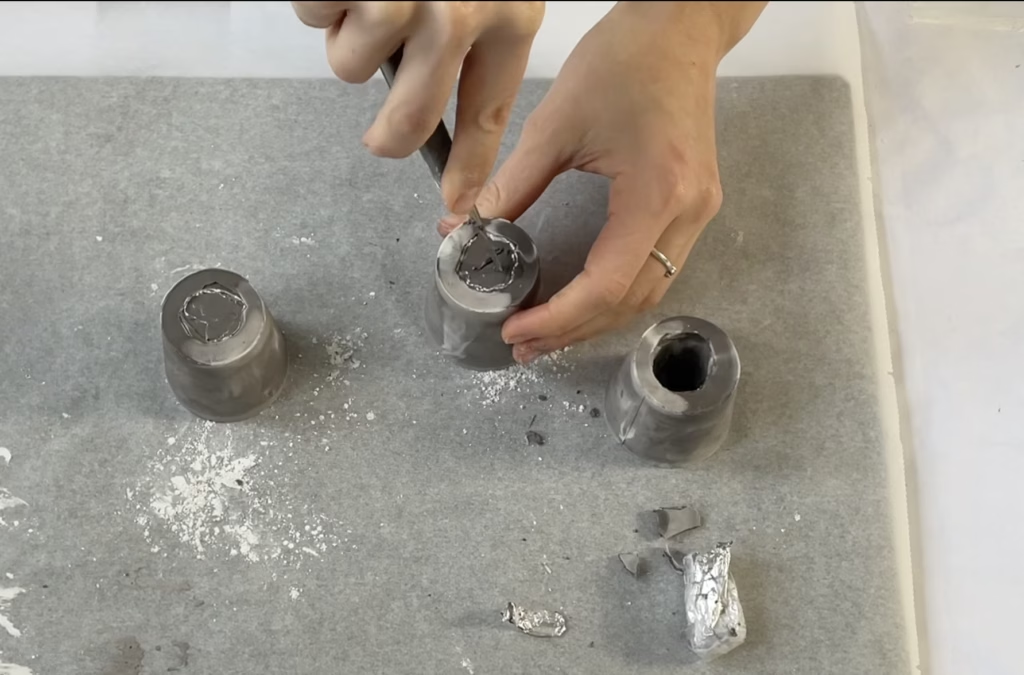
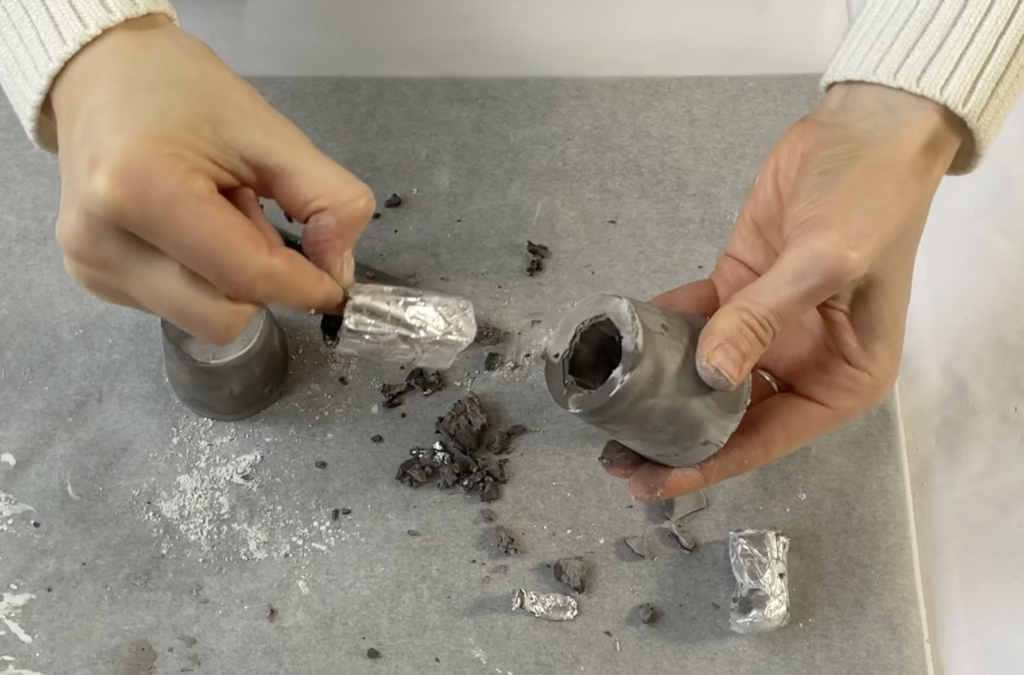
After 24 hours, I carefully tore the paper cups to release the candle holders. To remove the foil shape from the center, I first trimmed away any gypsum that had leaked through the tape using a precision knife. Once the excess was cleared, I was able to extract the foil shape.
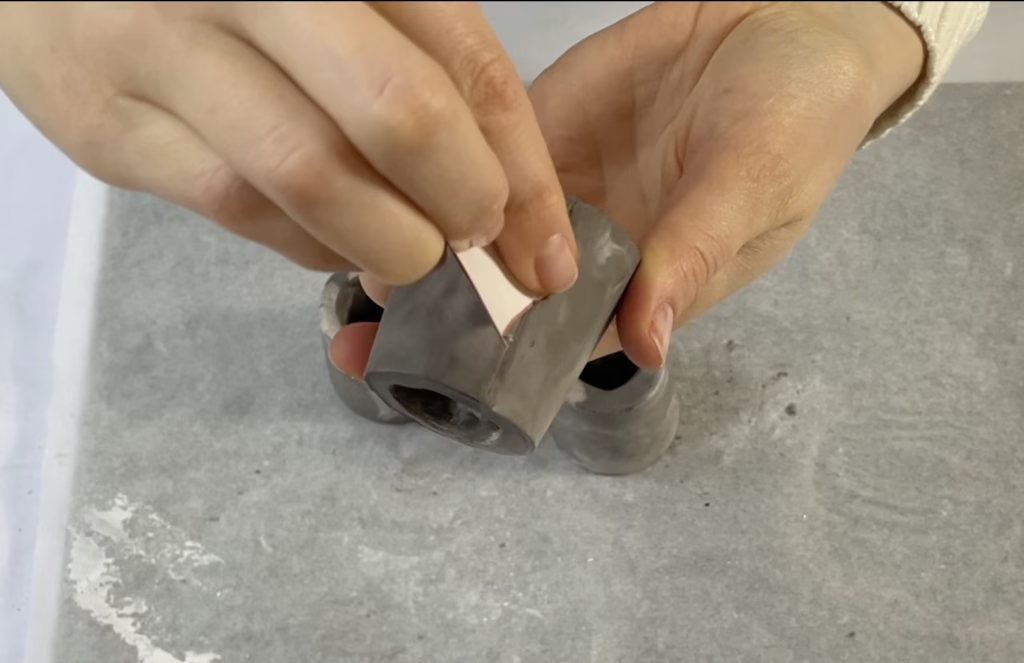
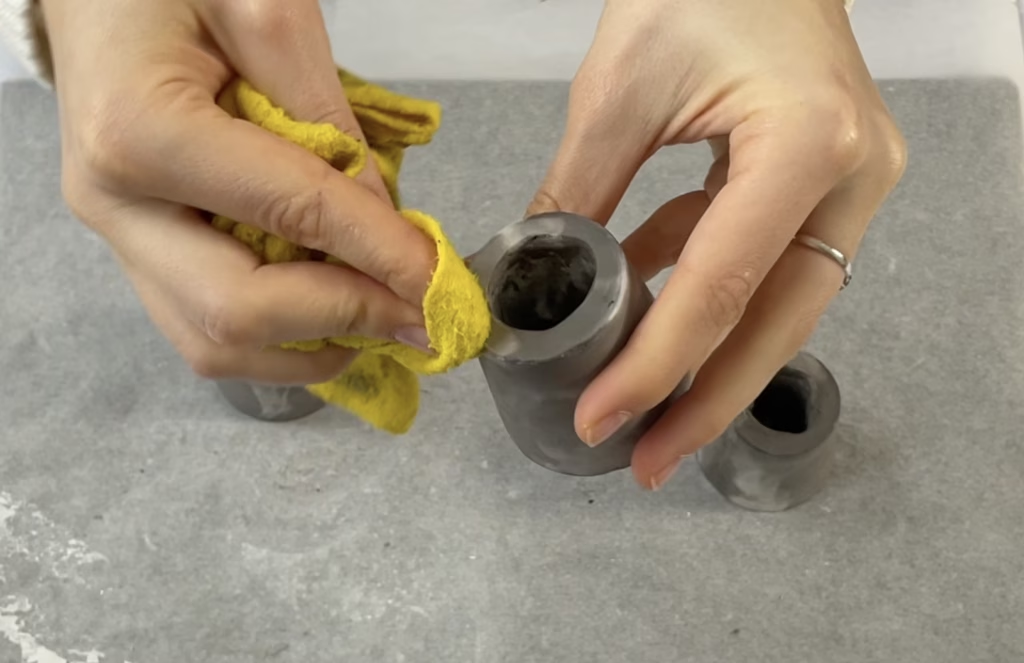
Since the gypsum was still slightly damp, I took the opportunity to make some final adjustments. To smooth the edges, I started with 180-grit sandpaper and then finished by wiping the surface with a damp cloth for a polished look.
Results
I was very pleased with the result. These candle holders pair beautifully with plain white candles, making them a versatile addition to any home. They work well as centerpieces on a dining table or as decorative accents in other spaces. If I came across these candle holders in someone’s home, I’d never have guessed they were handmade from gypsum.
