Recently, I’ve seen many videos of people skim-coating walls by applying plaster with a roller and smoothing it out with a taping knife. It looked very easy in those videos, so I decided to try it myself.
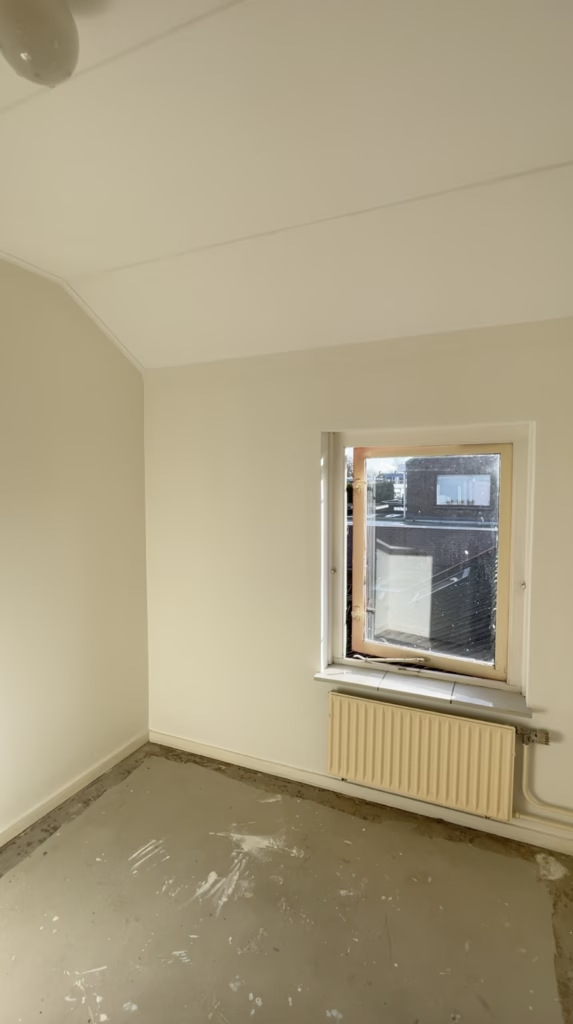
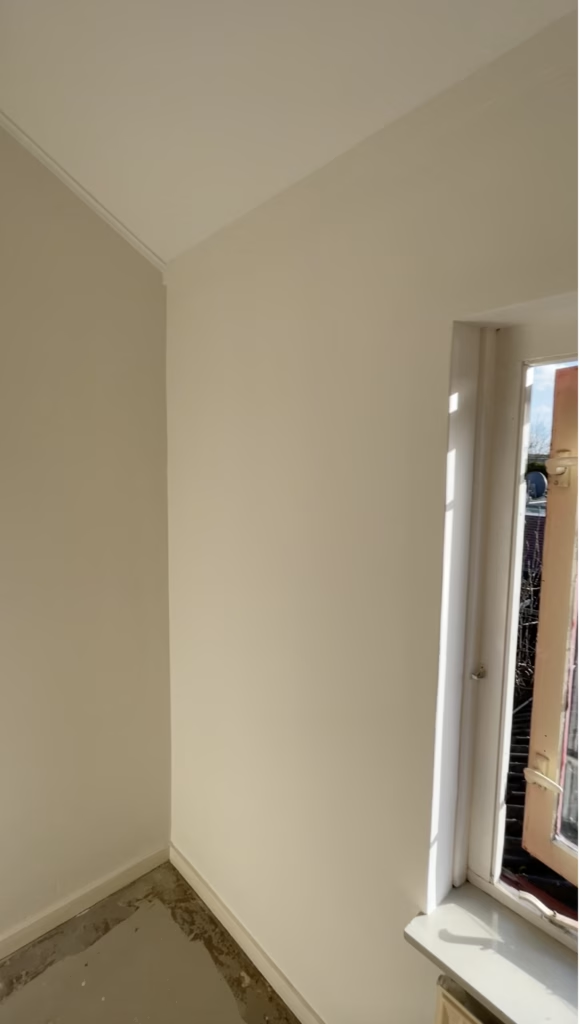
I chose a small room in my house to experiment with, thinking that if it worked well in a small space, I could use the same technique in my much larger living room with higher ceilings.
In this article, I’ll explain the process of my first attempt at skimming and share my key takeaways.
Prefer watching instead of reading? Check out my YouTube video, where I share the entire process of skim coating walls for the first time.
You Will Need
These are affiliate links. If you purchase through these links, I may earn a small commission at no extra cost to you. Thank you for supporting my DIY journey!
- Plaster: https://amzn.to/40LVSYP
- Taping knife: https://amzn.to/4guh4Z2
- Putty knifes: https://amzn.to/42Ecapi
- Mixing paddle: https://amzn.to/3CGRSRt
- Square-shaped bucket: https://amzn.to/3Q6aRrz
- Roller 1: https://amzn.to/4jPVQbh
- Roller 2: https://amzn.to/3WKhgN1
- Plaster tray: https://amzn.to/4jNfmox
- Extension for roller: https://amzn.to/42EdfgQ
- Hand sanding tool: https://amzn.to/3EAKyqV
- Sanding machine: https://amzn.to/3Q2RSyl
Step 1: Preparing the Room
The first step was to prepare the room for plastering. I removed everything from the walls that could be taken off, such as nails and curtain hangers.
Next, I sanded the walls manually with 80-grit sandpaper. Using a sanding machine would have made this much faster, so I highly recommend using one if you have it.
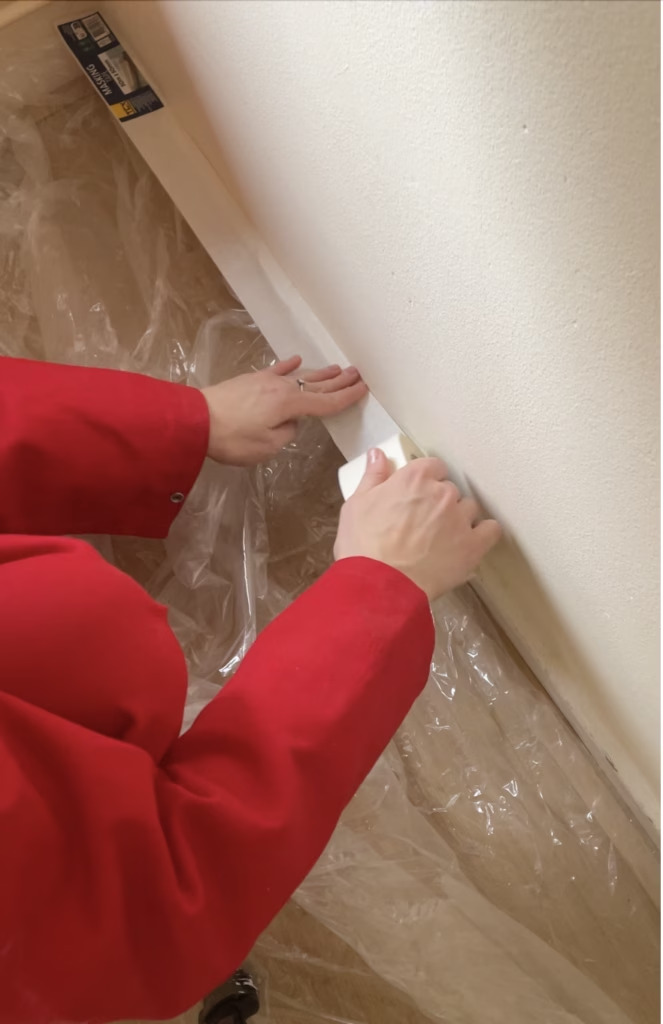
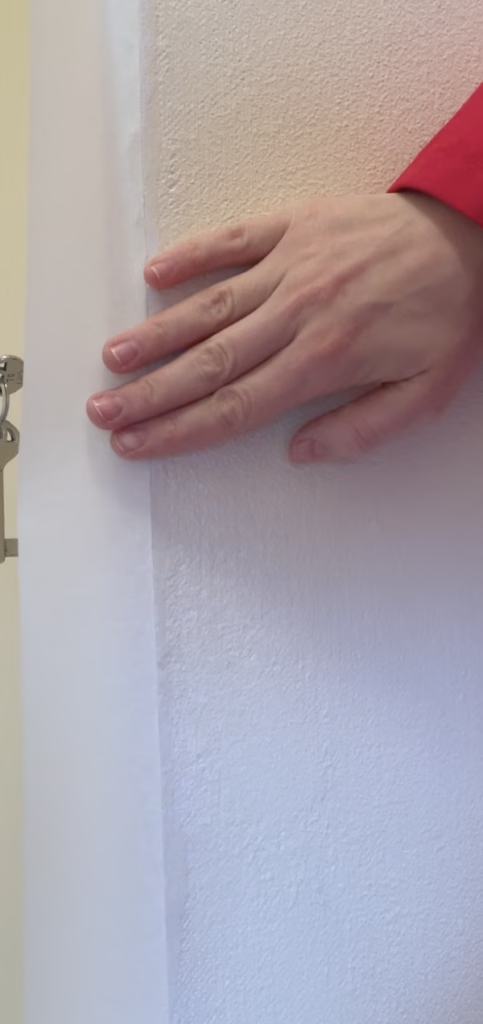
After sanding, I dusted off the walls with a brush and wiped them down with a damp sponge. Then, I protected the floors with plastic and taped off everything around the walls with masking tape, including window frames, door frames, and baseboards.
Step 2: Filling Holes and Cracks
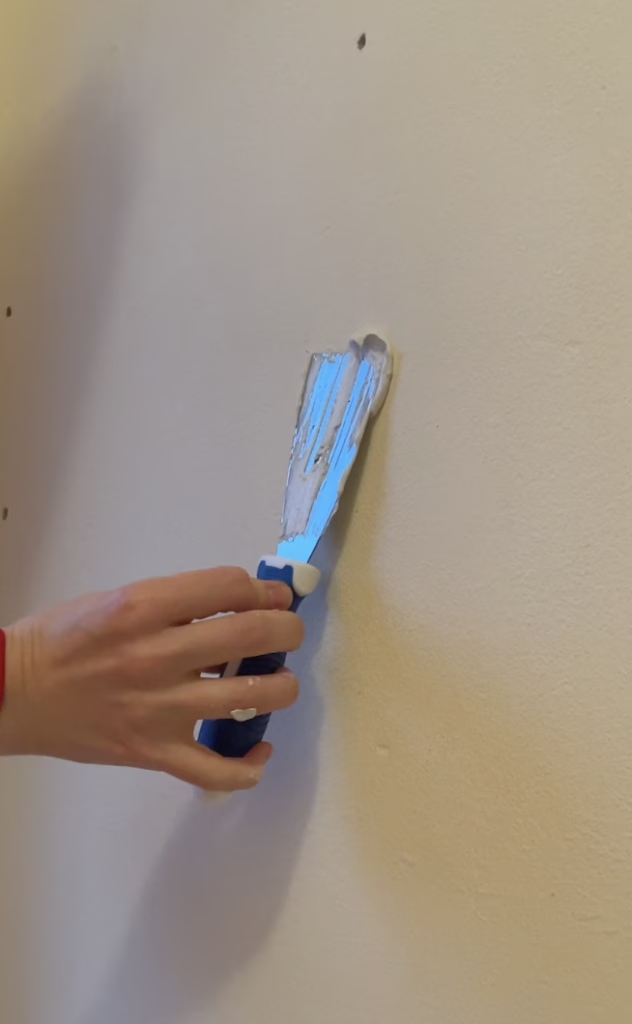
Then I moved on to filling in all the small holes and cracks.
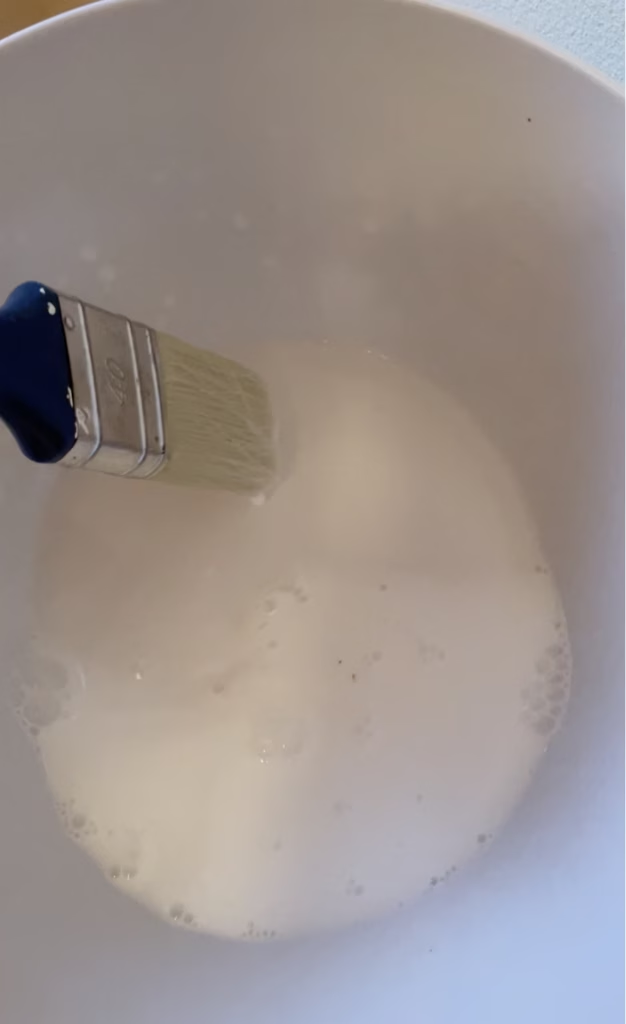
To prevent porous walls from absorbing too much moisture from the filler, I first primed the holes and cracks with PVA glue diluted in water (1:3 ratio).
I didn’t have wall filler on hand, so I just mixed a bit of the same plaster I planned to use for skimming.
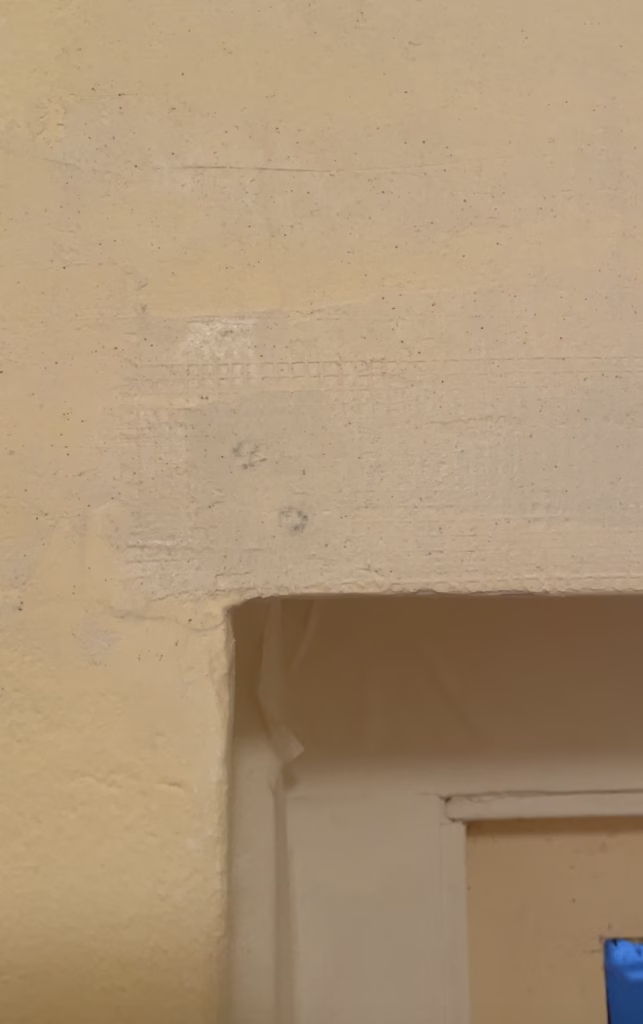
I fixed a crack above the window by filling it, applying mesh tape, and adding a thin layer of filler.
I completed all these preparations in about six hours. Then, I let the filler dry completely for a full day before moving on to plastering.
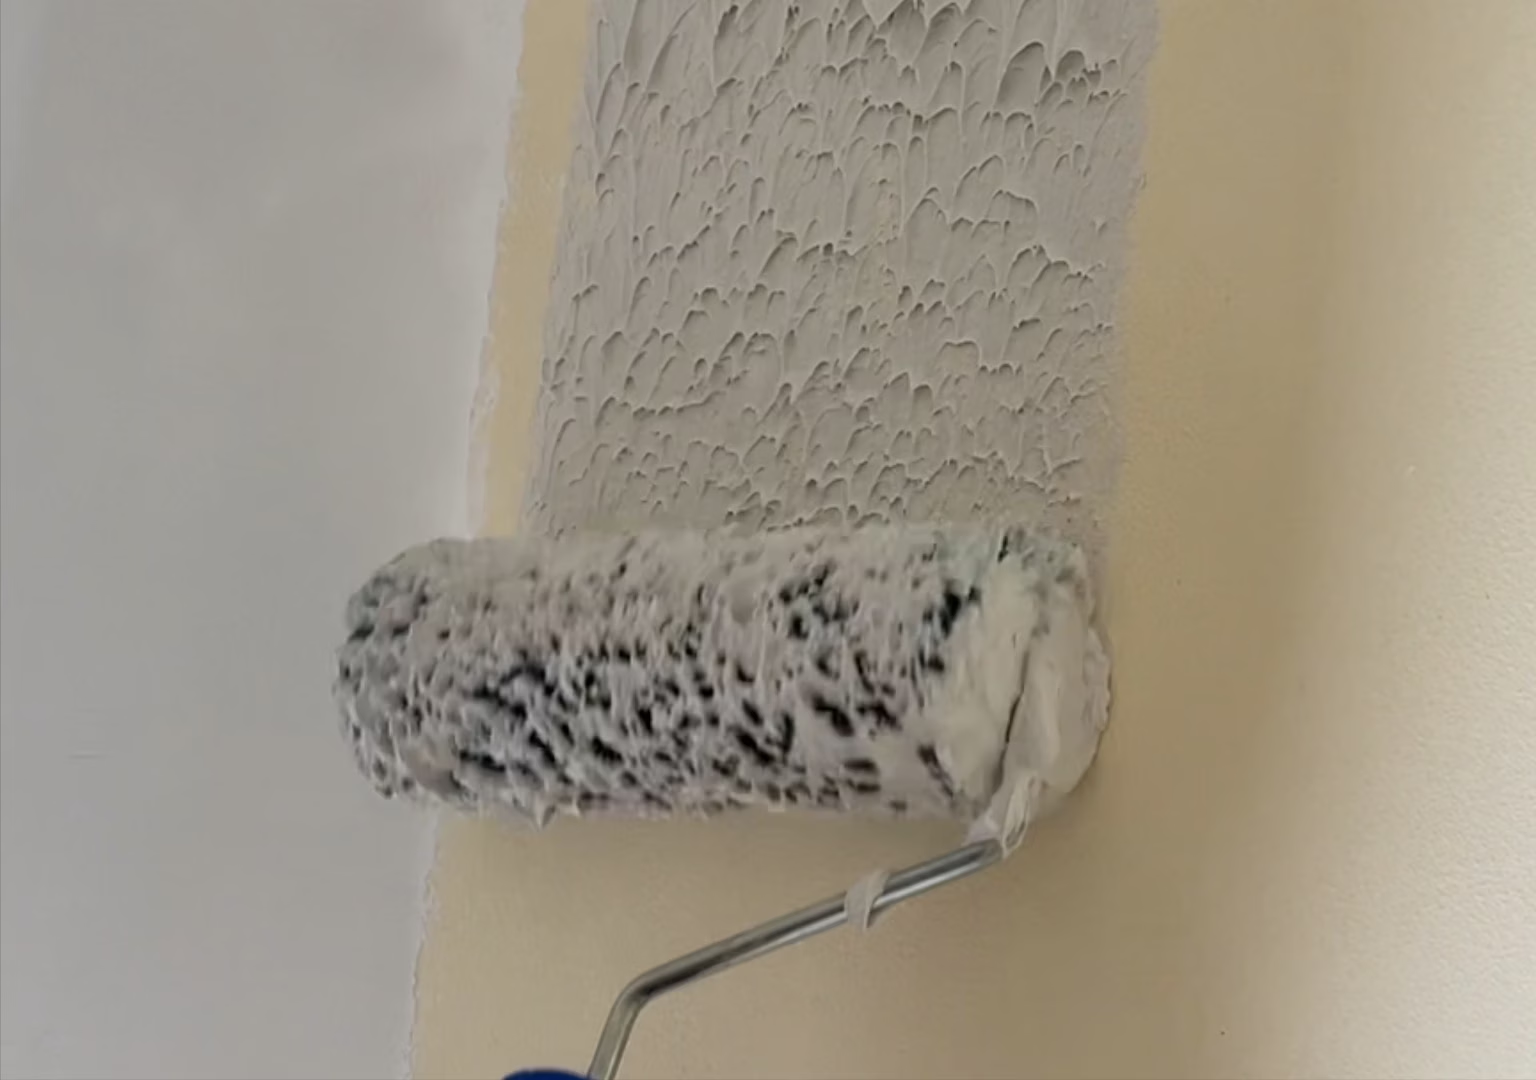
Step 3: Mixing and Applying Plaster
I started by priming the walls with diluted PVA glue. After applying it, I waited for about 20–30 minutes until the walls became slightly sticky to the touch—this is the perfect moment to start skimming. While waiting, I mixed the plaster for skimming.
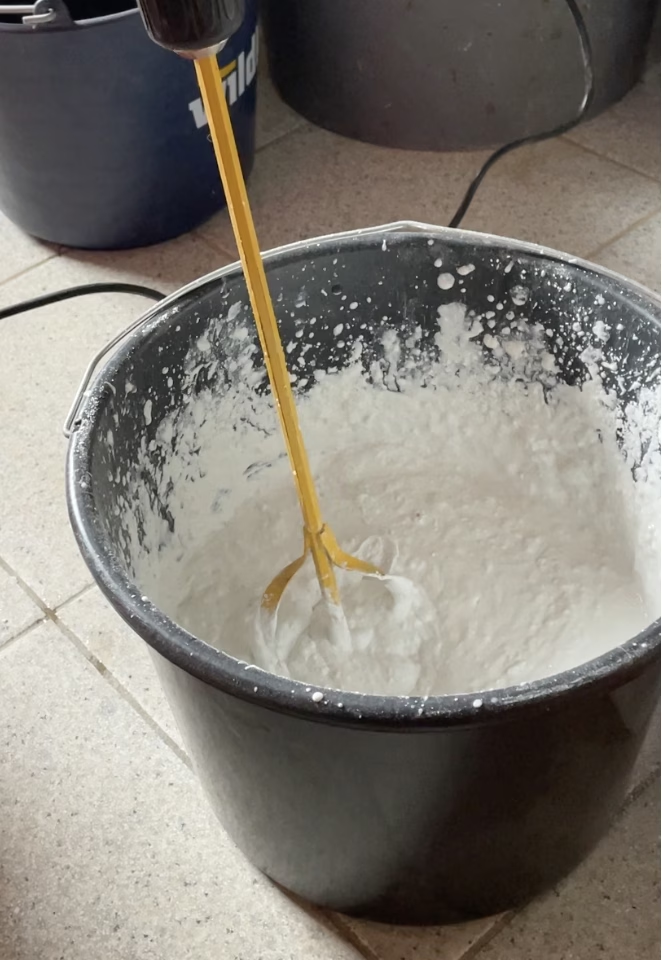
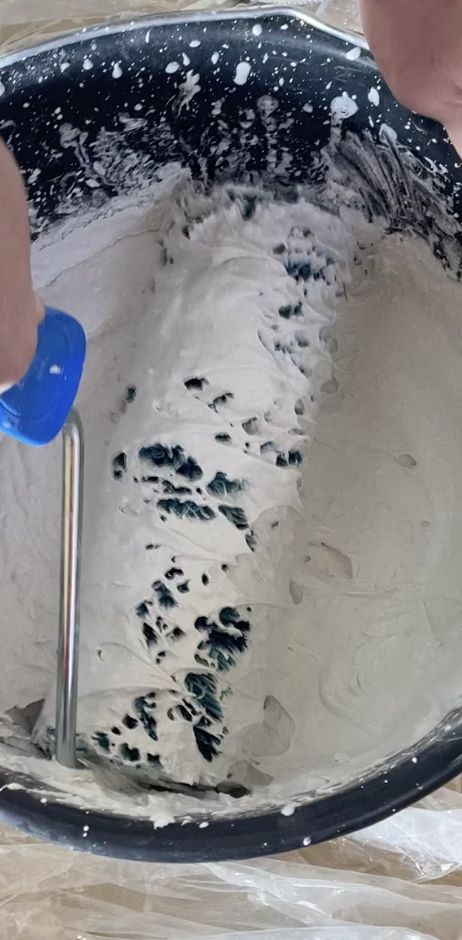
Since my plaster came in dry form, I mixed it myself by pouring water into a bucket, gradually adding the plaster, and using a mixer to blend it until I reached the right consistency. I didn’t measure the exact amounts of water and plaster. If you prefer to save time, use a pre-mixed plaster.
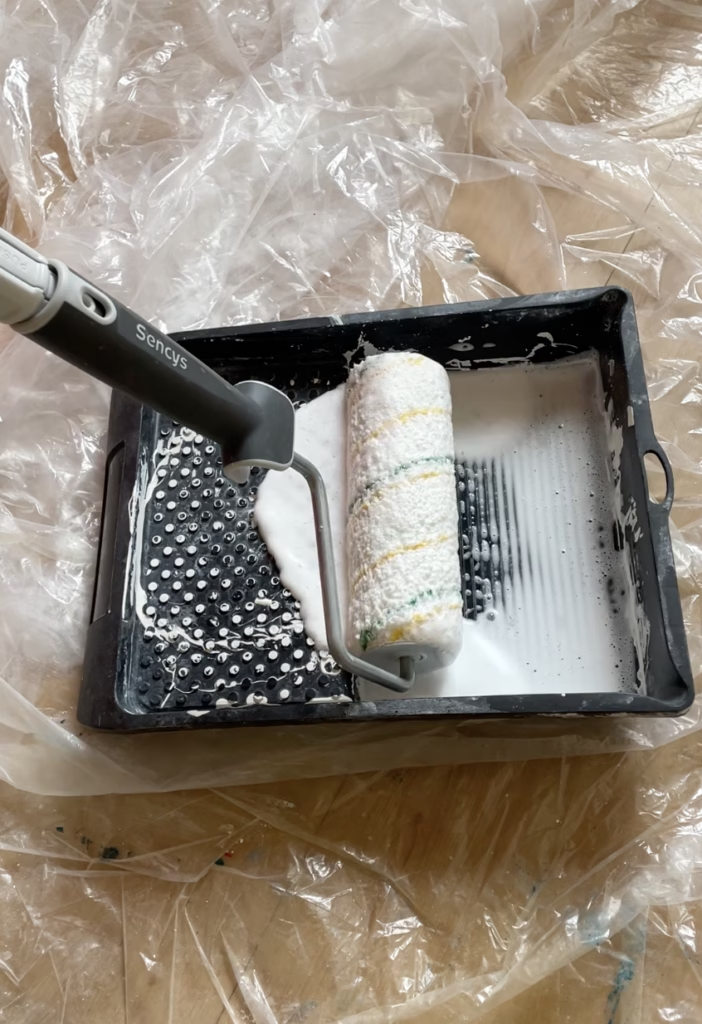
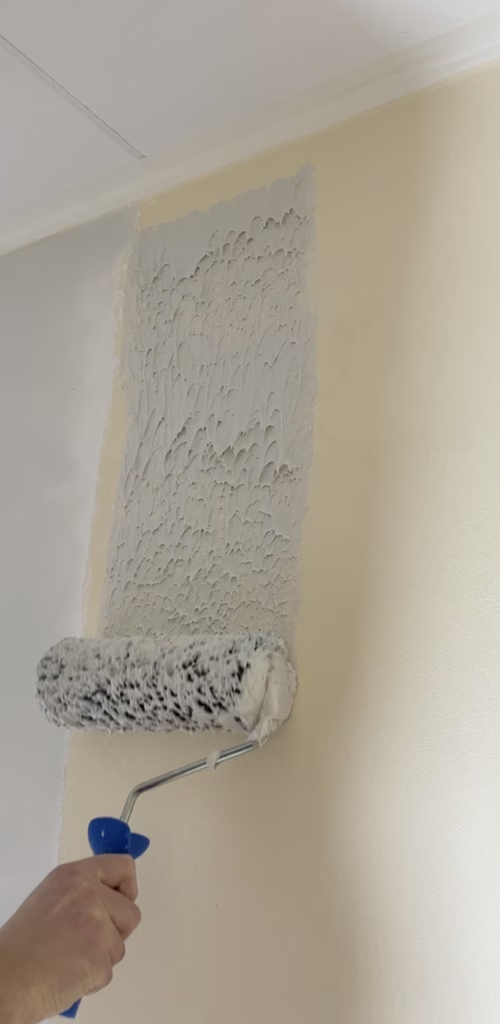
To apply the plaster, I used a roller. The roller should have either long fibers or a sponge-like texture. I also recommend using a square-shaped bucket so the roller can fully submerge.
I found it easiest to apply plaster to the entire wall or a large section first, then smooth it out, rather than working on small areas one at a time.
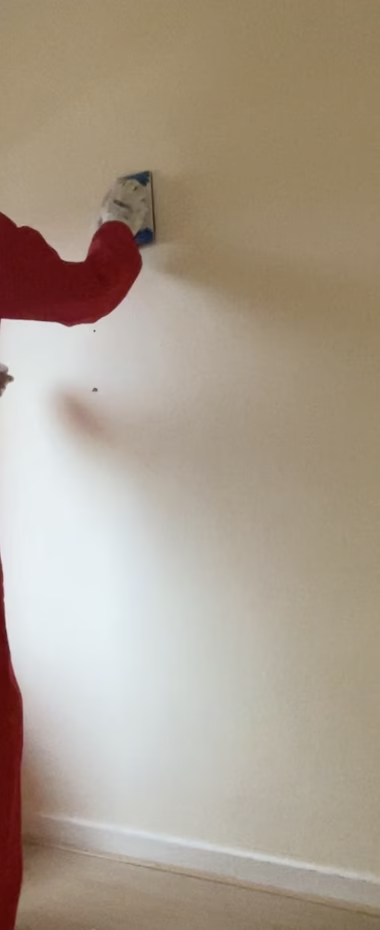
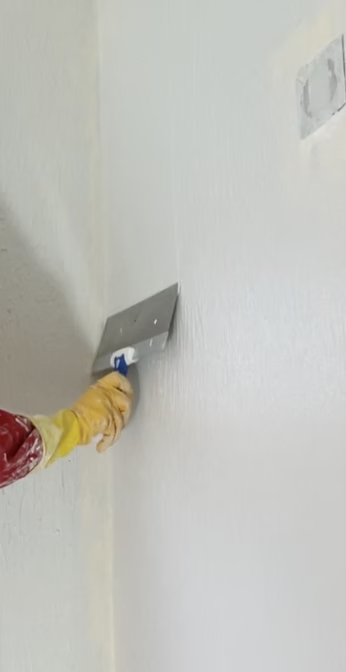
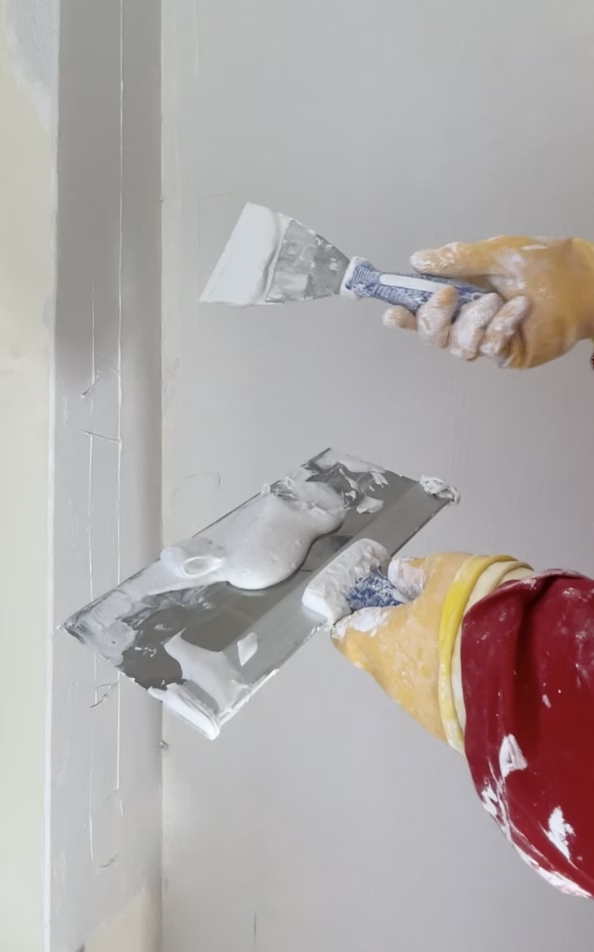
Step 4: Smoothing the Plaster
Then, it was time to smooth out the plaster.
The biggest challenge for me was that when I smoothed one area, I would sometimes accidentally mess up a nearby section and have to go over it again. This meant spending a lot of time on each part of the wall, going over it multiple times.
What helped me was realizing that the final result doesn’t have to be perfect. I learned to stop smoothing a section once the imperfections were minor enough to be sanded down later.
Corners are trickier to work on, so I found it helpful to have a smaller putty knife on hand—it makes smoothing the plaster in tight spaces much easier.
A little tip: it’s easier to sand down imperfections that stick out rather than those that are indented into the surface.
In total, it took two of us about six hours to skim-coat a small room, which is 5 m² with approximately 2.4 m high ceilings.
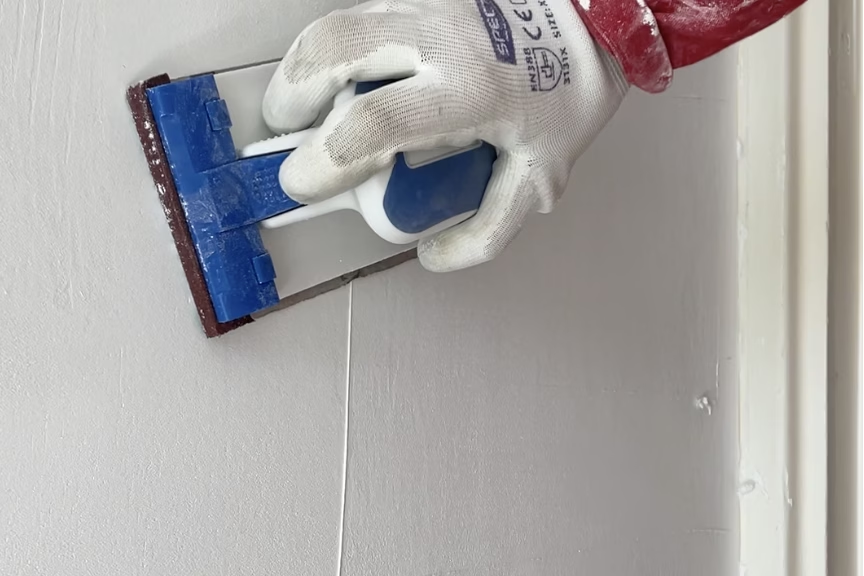
Step 5: Sanding and Painting
The next step was sanding to achieve a smooth finish. I only sanded the most visible imperfections. While some defects remained, they were only noticeable when looking closely.
I then applied one coat of plaster followed by one coat of paint.
Final Results and Takeaways
Overall, I’m happy with the result. Here are my key takeaways:
- You can definitely skim-coat a room yourself, even if you’ve never done it before. Your first attempt might not be perfect, but you’ll improve with practice.
- Skimming looks much easier in videos. In reality, it’s very labor-intensive, so be prepared for long hours of physical work.
- If your walls are already relatively straight and smooth, consider skipping skimming altogether. Simply sanding and painting might be enough.
- Skimming a room with high ceilings will be much harder.
Final Decision
While we’re happy with the final result, we ultimately decided to hire professionals for the living room. For the other bedrooms, we’ll skip skimming and just sand and paint instead.