If you appreciate minimalistic, abstract, and elegant wall art, this project might be worth exploring. Textured plaster art has grown in popularity, and this DIY offers a simple way to create your own textured wall art. It’s straightforward to make and produces an eye-catching result.
Prefer watching instead of reading? Check out my YouTube video, where I share the entire process of making textured line art with plaster.
You Will Need
These are affiliate links. If you purchase through these links, I may earn a small commission at no extra cost to you. Thank you for supporting my DIY journey!
- Plaster of Paris (modelling gypsum): https://amzn.to/3Votx9b
- Canvas: https: //amzn.to/4f2KZXS
- Rope: https://amzn.to/3DcZWcn
- Glue: https://amzn.to/4iolvqx
- Brush: https://amzn.to/3BrAwY1
Step 1: Create the Line Pattern on the Canvas
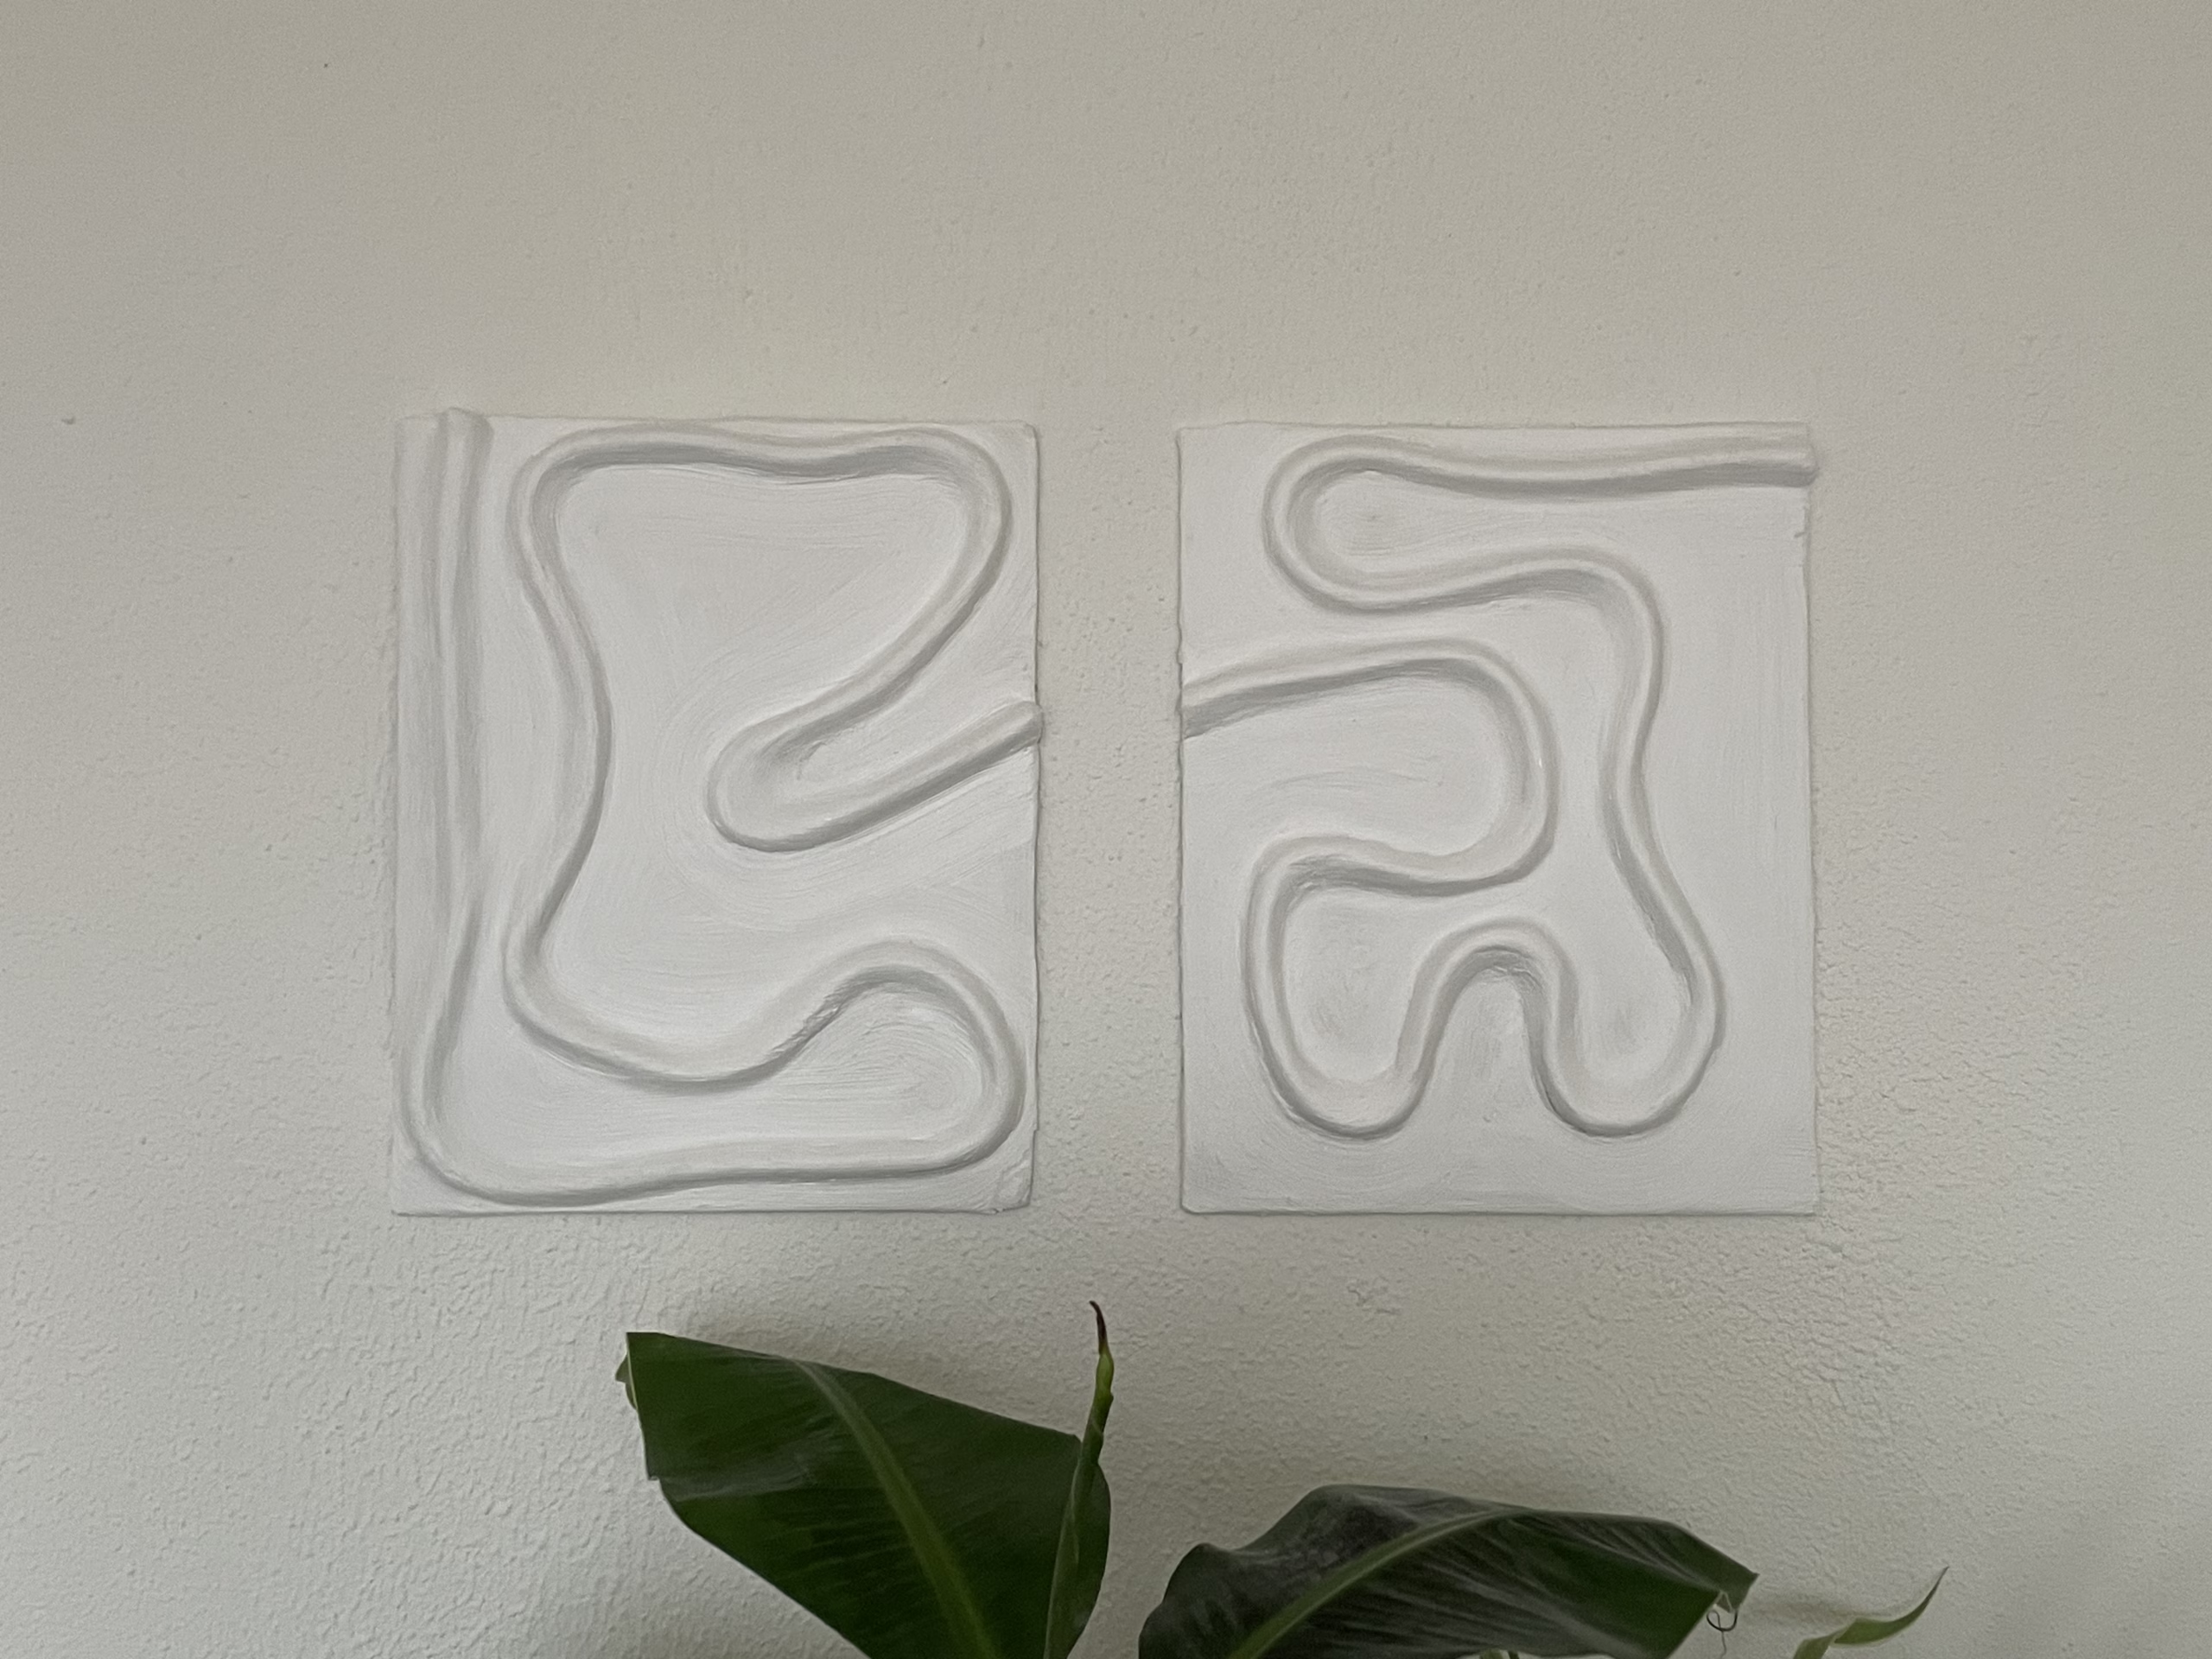
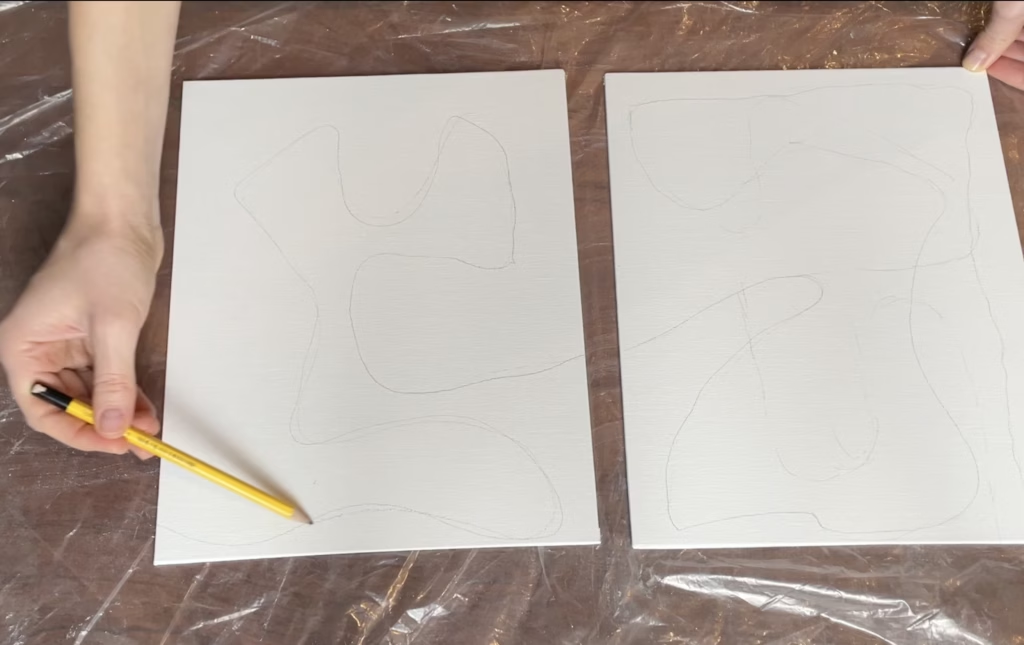
Start by preparing your canvas. Draw a line pattern directly onto it. For this project, I used two canvases to create a cohesive set where the lines flow seamlessly from one canvas to the other. This idea was inspired by similar multi-canvas artworks that form a unified design across several pieces.
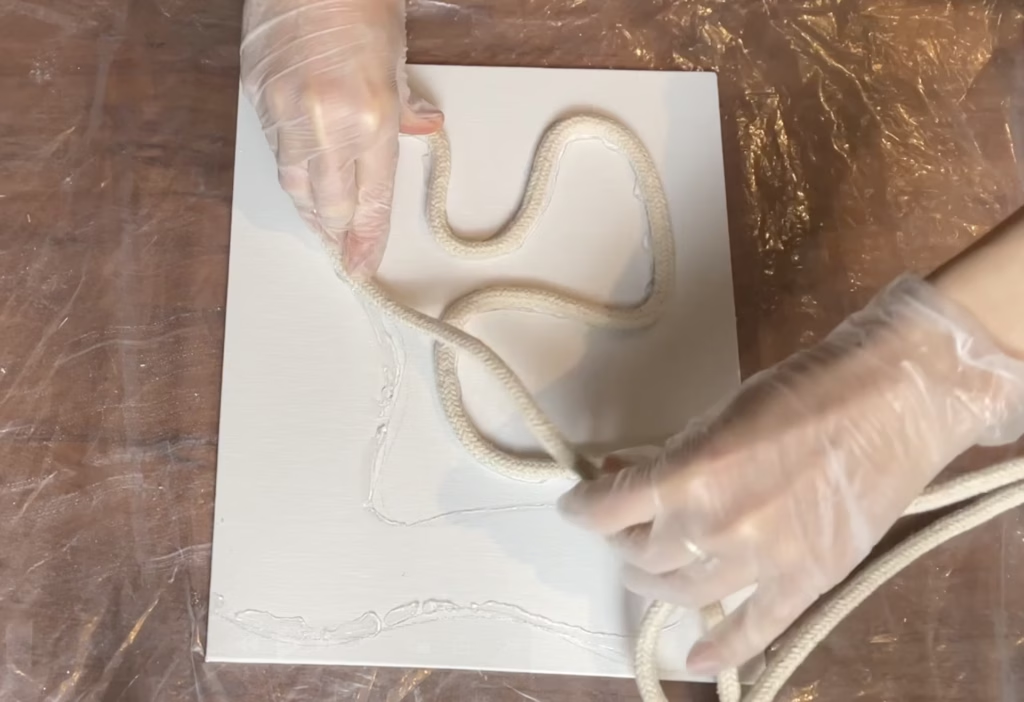
Once the pattern is drawn, glue rope along the lines. To ensure the rope stays in place while the glue dries, place a book or another flat, heavy object on the canvases.
Step 2: Apply the Plaster
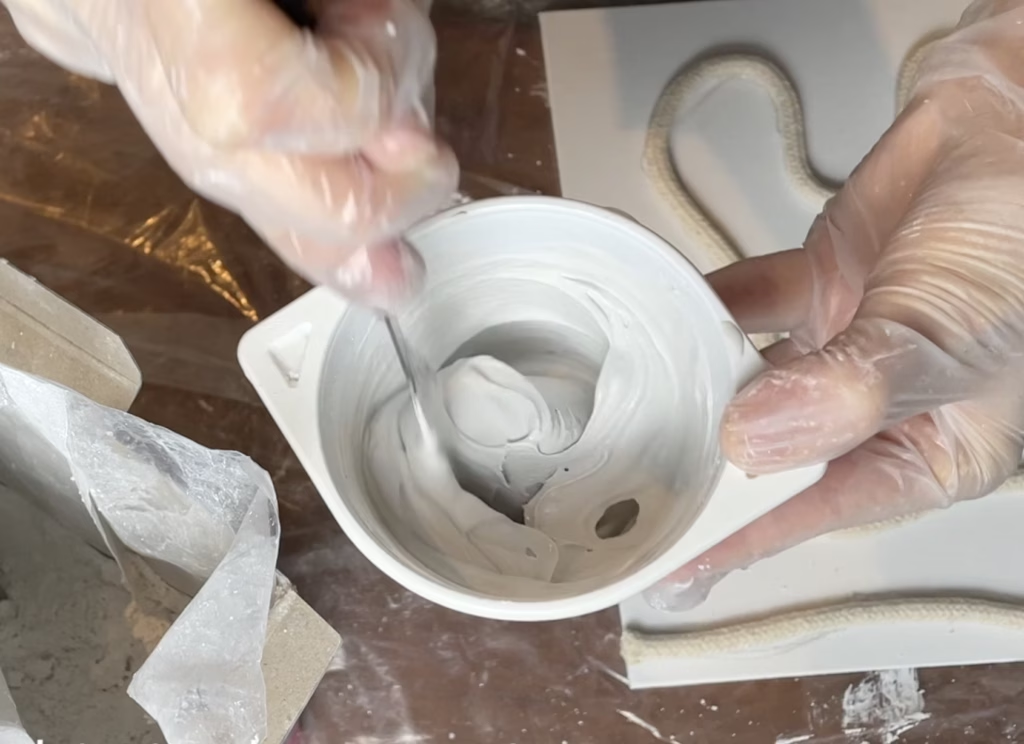
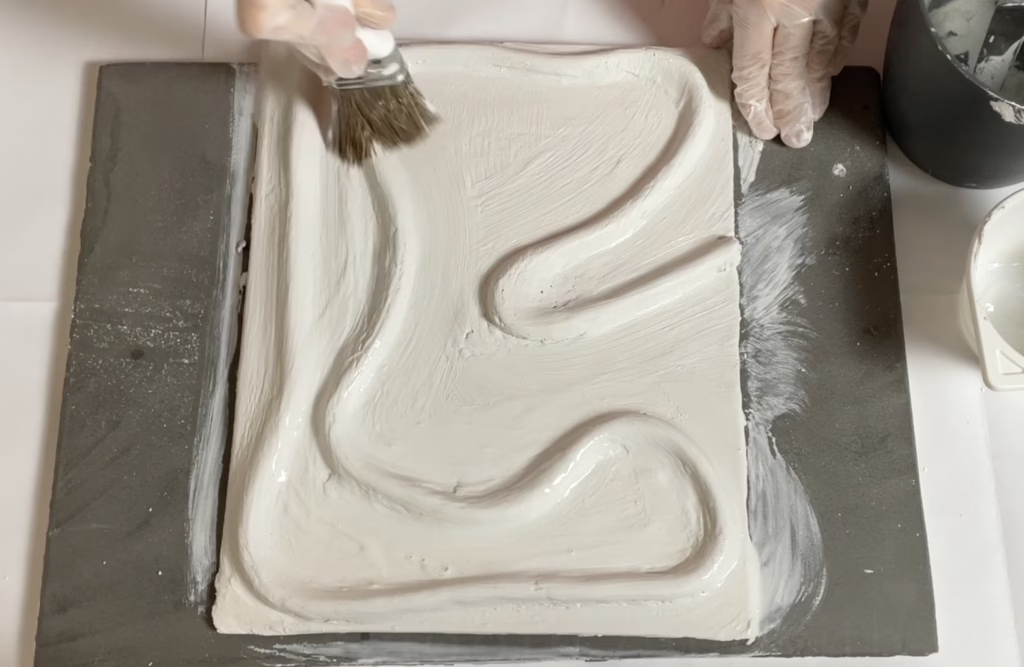
Once the glue has dried, you can start applying the plaster. Begin by mixing the plaster (modeling gypsum or Plaster of Paris) with water until it reaches the right consistency (refer to the picture below for guidance). Work quickly, as plaster hardens fast, but there is enough time to apply it evenly.
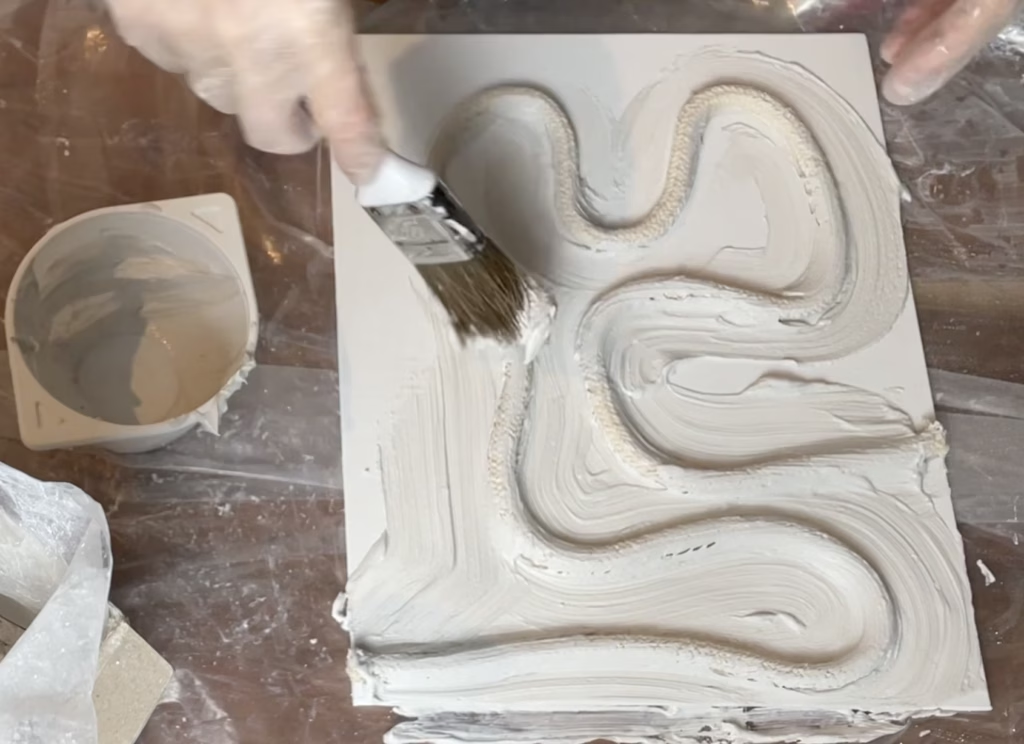
Using a paintbrush, spread the mixture onto the canvas. Allow the first layer to dry completely before applying a second layer. For the second layer, mix the plaster with slightly more water to create a thinner consistency. Before the second layer dries, smooth the surface using water and a brush. Once the surface is even, leave the canvases to dry thoroughly.
Results
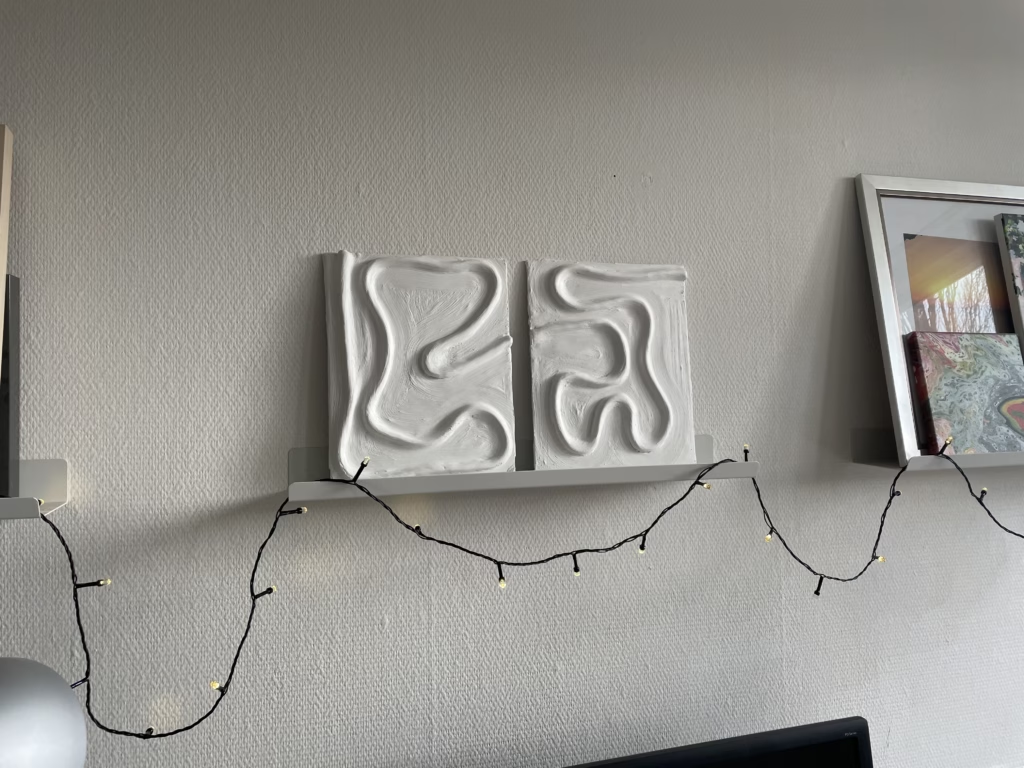
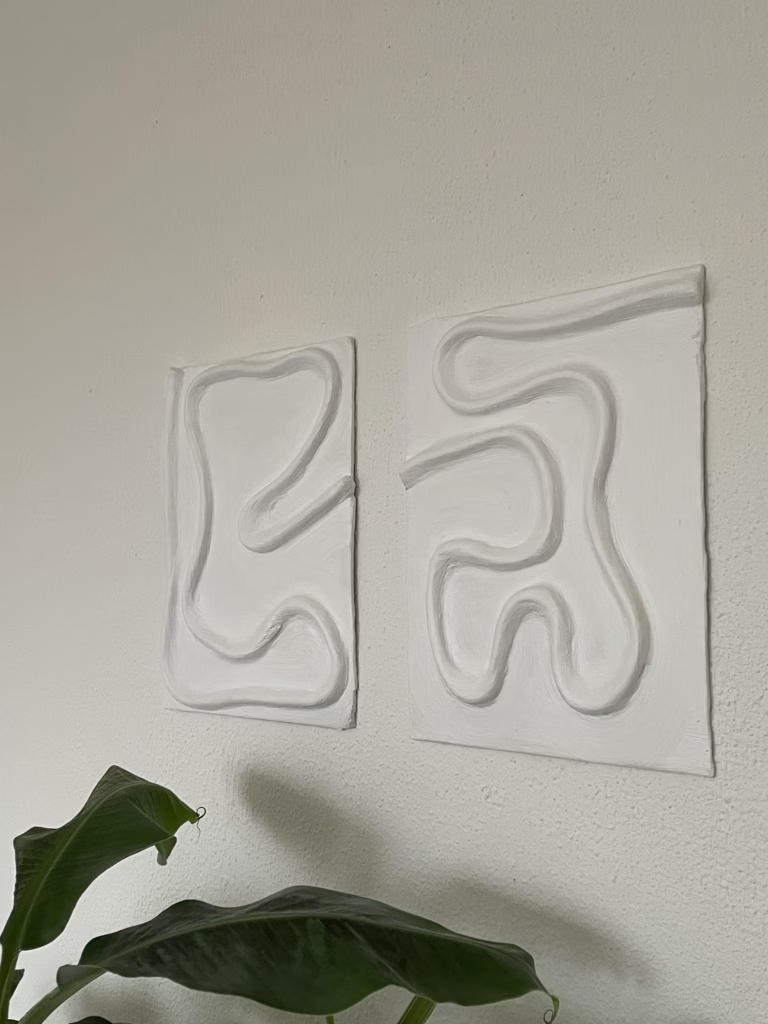
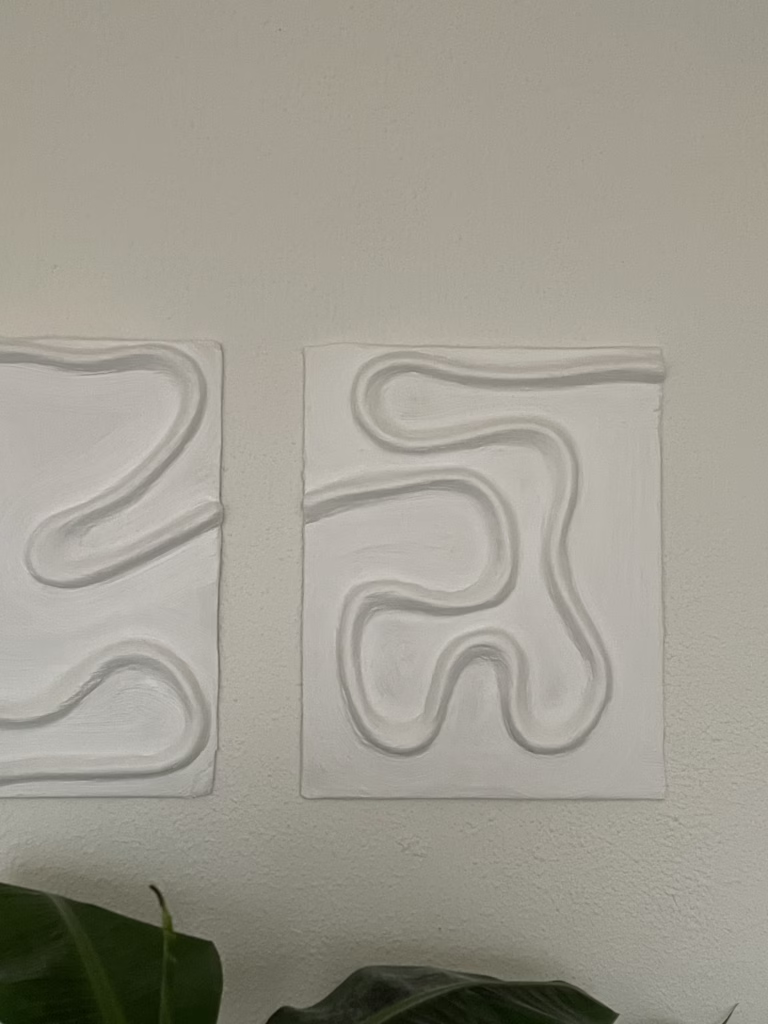
Once the plaster dries, it will have a white finish. You can leave it as is for a minimalist look or paint it using acrylic paint if you prefer a customized appearance. For my project, I chose to keep the plaster unpainted to maintain its simple, understated aesthetic. Take a look at the pictures below to see the final result.
